
You’ve probably seen those social media adverts for minimalist maps of your city, but did you know you can create your own? While it might seem like a lot of work, this simple Python script takes minutes to set up and is easy to use on pretty much any computer.
You can then spend as much as you like on a quality print and frame, or do everything yourself at home.
MapToPoster lets you create beautiful maps
MapToPoster is a free Python project that you can use to create maps that are worthy of being hung on your wall. It uses OpenStreetMap data to render the same style of striking minimalist maps you see advertised on social media, while giving you control over the exact map location, scale, and colors used.
Once the project has been installed, you can use a simple text command to create portrait PNG files of around 3630x4830 pixels in size (at a density of 300 dpi).
Here are some maps generated while playing around with the script:
Itching to create your own? Here’s how to set it up and use it.
Installing MapToPoster
I did all of this on my Raspberry Pi, but it should work anywhere that you can use and install Python. The good thing about Raspberry Pi OS is that Python 3 is already included. Windows users should download the official Python installer, while Mac users can install using Homebrew, and Linux users should find Python in their package manager.
To check whether you have Python installed, run a version check by running python3 --version.
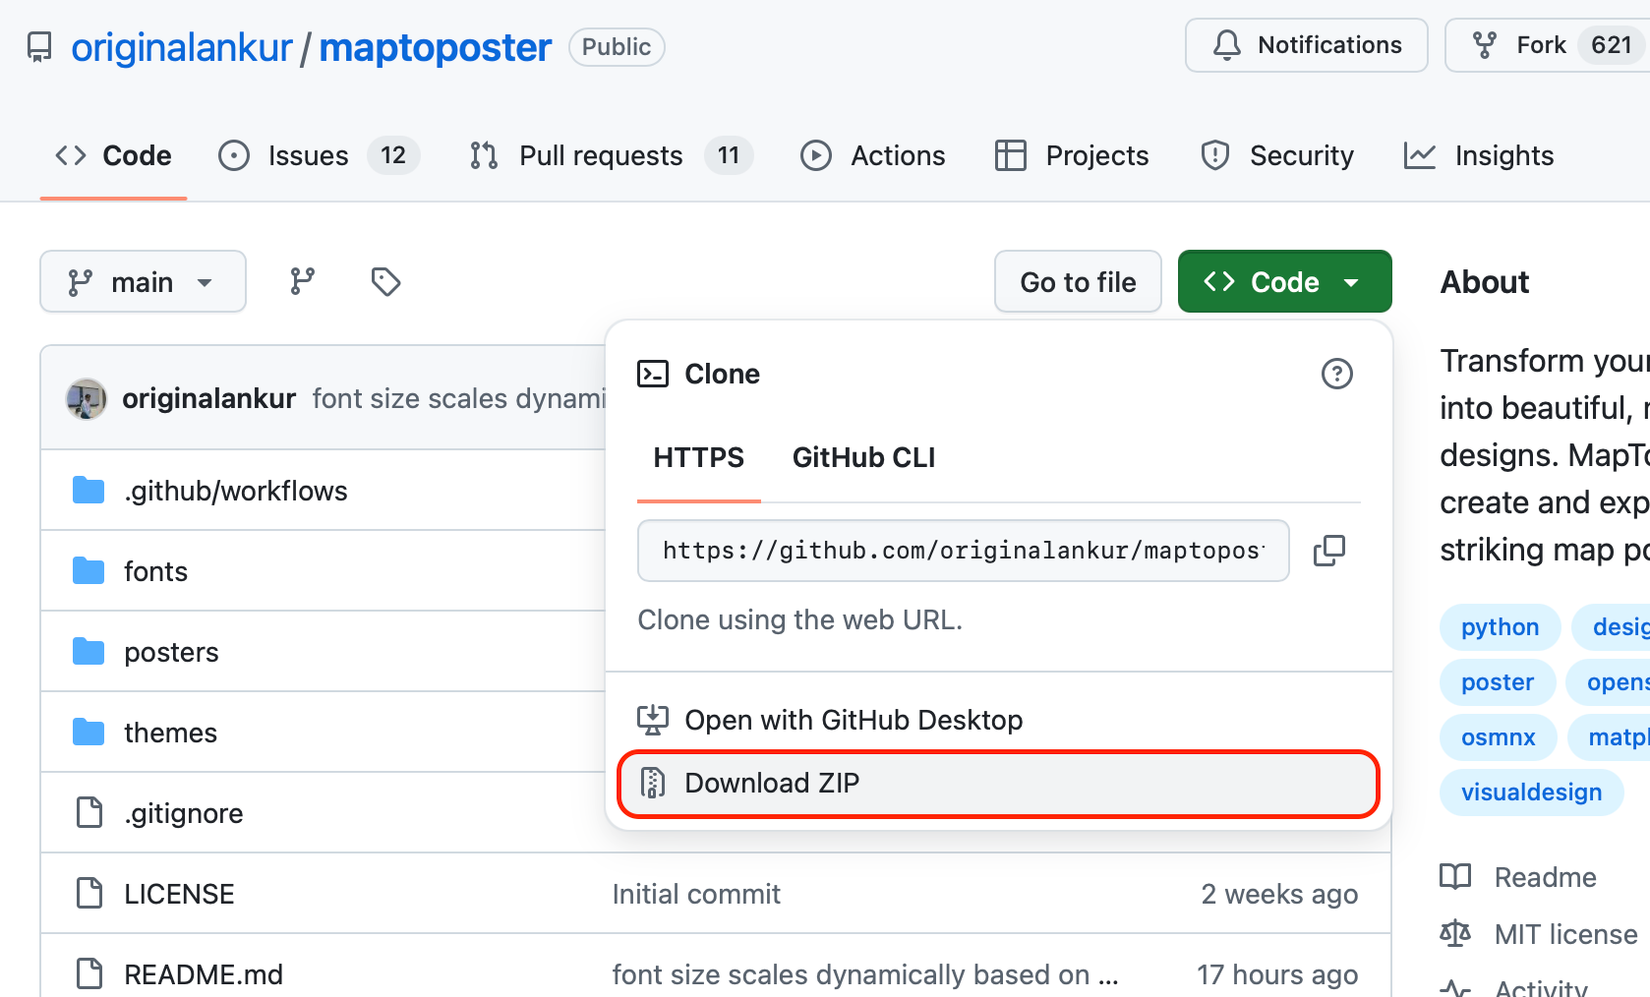
Now clone the MapToPoster project from GitHub. If you have Git installed, you can do this in the command line. First, navigate to the directory you want to clone the repository in, for example, cd /Py/ and then run:
git clone https://github.com/originalankur/maptoposter You can also download a ZIP and extract it wherever you want using the drop-down “ Code” box on the GitHub project page.
Now open a Terminal window and navigate to the MapToPoster directory. Using our earlier example, that would be cd /Py/maptoposter.
You now need to set up a virtual Python environment into which you can install dependencies. To do this, run the following command:
python3 -m venv Replace maptoposter. Now activate that environment by running the following command (again, replacing
source

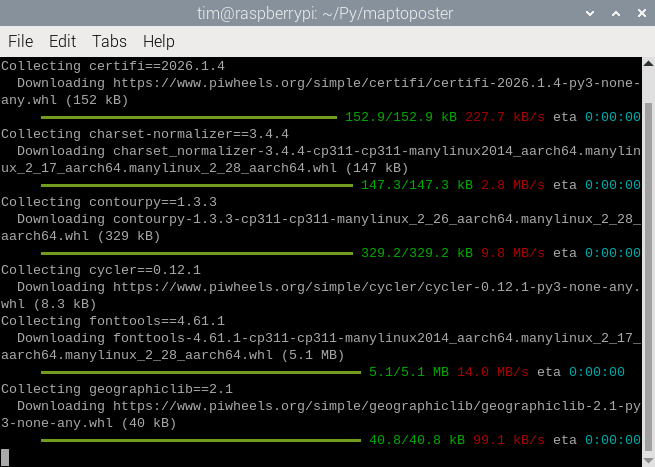
All that’s left to do is install dependencies by running one final command:
pip install -r requirements.txt
 Create maps and print them
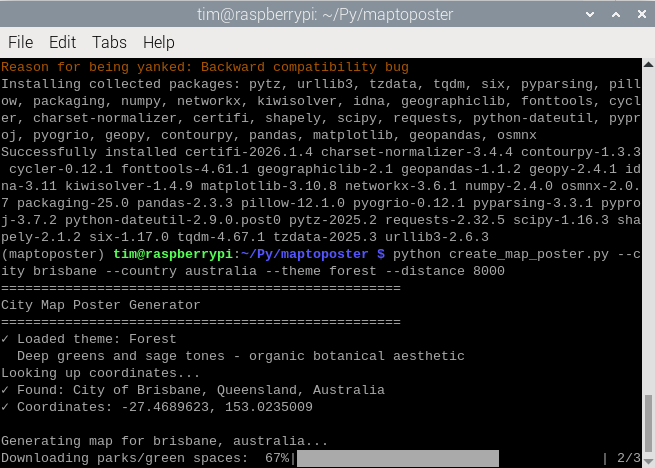
You can now use the following command to create maps:
python create_map_poster.py --city The options you have available are --distance where theme where the /themes/ folder.
To see the themes, run the following command or hit up the GitHub page where you’ll find instructions on creating your own:
python create_map_poster.py --list-themes For place names with multiple words, e.g., New York City, use quotations like "New York City". The poster will honor whatever naming convention you use, with a fair amount of wiggle room. So you can use “Manhattan” for the “city” and then choose “New York City” or “New York” or “NYC” as the “country” and the script will understand what you mean and use your chosen labeling.
Creating new posters after you’ve cached the road layouts and other map details is a lot quicker. Reducing the density can also speed things up for quicker previews, use the --dpi 150 flag to do this. You’ll find all finished maps within the /posters/ directory.
Try experimenting! For example, I managed to produce some decent maps of tiny towns by setting the --distance flag to 2000 or lower.
If you close the Terminal window you'll need to navigate back to the script directory and activate the Python environment again before you can use the script again using the cd /path/ command (where /path/ is the folder you used earlier) followed by the source command (where
Once you’re happy with your maps, it’s time to print them in archival quality, stick them in a frame, and decorate your walls.