For the last few months, I have been using Claude to automate mobile app testing to have a better validation gate during the development process. The idea was to have the same flows that Web Developers have with Playwright MCP or with browser control tools.
I started where everyone starts: standard Mobile MCPs based on Appium (like Mobile Next).
It wasn’t bad, but it wasn’t good. Having to install and run Appium (specifically the WebDriverAgent) for iOS was simple, but it was an extra step that added friction.
The main issue was that it was slow and flaky, and it was burning through tokens. I also learned after a few iterations that explicitly guiding Claude on where to press using raw coordinates was tedious.
Every time Claude wanted to check the UI, the MCP would dump the entire accessibility tree, which could be thousands of lines of JSON for a complex screen.
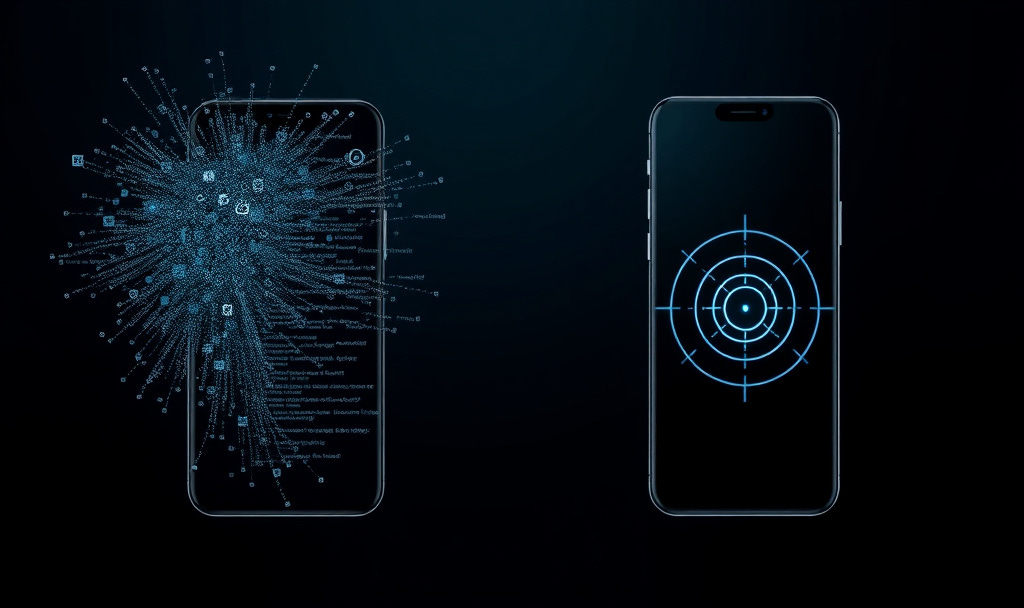
I realized I was trying to force an old paradigm (DOM inspection) onto a new intelligence (Multimodal Vision). I wanted the same fluid control we see in browser-based agents—where the AI simply “looks” at the page and then clicks.
So I built Mobile Pixel MCP.
It is built on a simple premise: Visual-First Control. No heavy drivers, no tree parsing, just pixels and coordinates. I think visual control is the future. Here is what I learned.
The industry standard for mobile automation (Appium, Maestro, Detox) relies on the Accessibility Tree. To find a button, the driver has to parse the underlying structure of the app.
This works for scripts, but it is terrible for LLMs:
Latency: Dumping the hierarchy on Android can take 1–2 seconds per action.
The “Tree Tax”: A complex JSON tree is massive. Sending it to Claude for every interaction creates a massive token overhead.
Hallucination: LLMs are often better at “seeing” a screen than parsing nested nodes to guess the layout.
Mobile Pixel flips the model. It treats the Android Emulator or iOS Simulator purely as a visual surface.
Input: Screenshots (optimized JPEGs).
Output: Coordinates (x, y).
I stripped away the “smart” driver layers to go straight to the metal: ADB (Android Debug Bridge) and IDB (iOS Development Bridge).
The core mechanic of Mobile Pixel is the Instant Verification Cycle.
In traditional automation, the agent fires a command and hopes it works. In Mobile Pixel, every action carries visual proof.
Agent: “Tap the Login button.”
Tool: Calculates coordinates via OCR -> Taps -> Immediately takes a screenshot.
Agent: Receives the action result + the new visual state of the screen in one turn.
No more “did that actually tap?” moments, cutting latency significantly and mimicking how a human manually tests an app.
I wanted to check if visual automation wasn’t just “cool,” but actually efficient. So I ran a head-to-head battle between the standard accessibility tree approach (Mobile Next) and Mobile Pixel.
The Test: A standard “Guest Login” flow on a production iOS App (iPhone 17 Simulator).
Launch App.
Tap “Test Button”.
Tap “Test Button 2”.
Verify the Target Screen appears.
The Results:
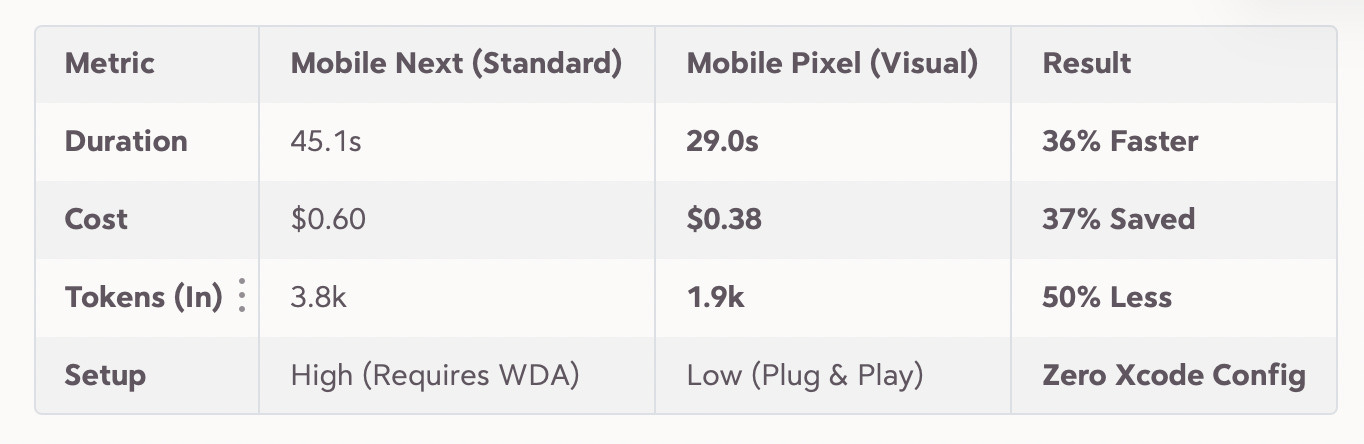
Why?
The WDA Bottleneck: The standard MCP required me to compile and run Facebook’s WebDriverAgent in Xcode before I could even start. Pixel just talked to simctl directly.
The Tree Tax: The standard MCP had to feed Claude massive JSON objects just to find a button. Mobile Pixel just sent a compressed screenshot and said, “Find this text.”
The Context Loop: Because Pixel’s tools automatically return a fresh screenshot after an action, I saved an entire round-trip of generic “Take Screenshot” calls.
Visual models have a weakness: Spatial Reasoning. Claude is amazing at identifying a button, but sometimes struggles to guess its exact (x, y) pixel coordinates.
To solve this without reverting to JSON, Mobile Pixel uses a Hybrid Stack:
Vision for Context: Claude sees the screen to understand the flow and state.
OCR for Action: I implemented tesseract.js locally. When Claude wants to “Tap Login,” I don’t ask it to guess pixels. The tool finds the text “Login” in the image buffer, calculates the exact bounding box center, and taps it.
Note: This wasn’t as simple as just installing a library. Detecting white text on dark buttons required multiple preprocessing passes—inverted images, dynamic scaling, and smart match selection.
Logs for Truth: I added a “Log Bridge.” Instead of trying to visually verify if an API call succeeded (which is hard), the tool greps the adb logcat stream for specific app events.
I designed Mobile Pixel to be drop-in ready. It only requires ADB (for Android) or IDB (for iOS).
1. Setup
For Claude Code (CLI), add the MCP server to your settings file (~/.claude/settings.json or project-level .claude/settings.json):
{
    "mcpServers": {
      "mobile-pixel": {
        "command": "npx",
        "args": ["-y", "mobile-pixel-mcp@latest"]
      }
    }
}
Or use the CLI command:
claude mcp add mobile-pixel -- npx -y mobile-pixel-mcp@latest If you are using Claude Desktop
Add this to your claude_desktop_config.json:
{
  "mcpServers": {
    "mobile-pixel": {
      "command": "npx",
      "args": ["-y", "mobile-pixel-mcp", "--platform", "android"]
    }
  }
}
2. Configure (Optional)
You can create a mobile-pixel.config.json file in your project root to persist device IDs and app settings, so you don’t have to provide them every session.
Once running, you aren’t locked in. I added a configure_device tool that allows you to switch platforms (e.g., from Android to iOS) or change target devices dynamically without restarting the server.
We are moving away from fragile, selector-based automation scripts.
With the new development workflows introduced by LLMs, we are starting to need Agentic Validation. Throwing a Figma link and a build at an Agent, and it figures out how to test it. To make that viable, we needed a tool that was as fast and lightweight as the agents themselves.
Mobile Pixel is my attempt to build that layer. It’s not perfect, but it’s fast, visual, and competent.
The tools should just look at the screen—like we do.