Trina got me a Playdate for Christmas this year! I've always been intrigued by this console, as it is highly constrained in terms of pixel and color-depth (400x240, 2 colors), but also provides many helpful resources for game development such as a software development kit (SDK) and a simulator to quickly test games during development.
I first discovered software programming as an amateur game developer using BYOND, so “returning to my roots” and doing some game development feels like a fun and fulfilling diversion from the current direction software is taking. Plus, I now have a reason to learn a new programming language: Lua!
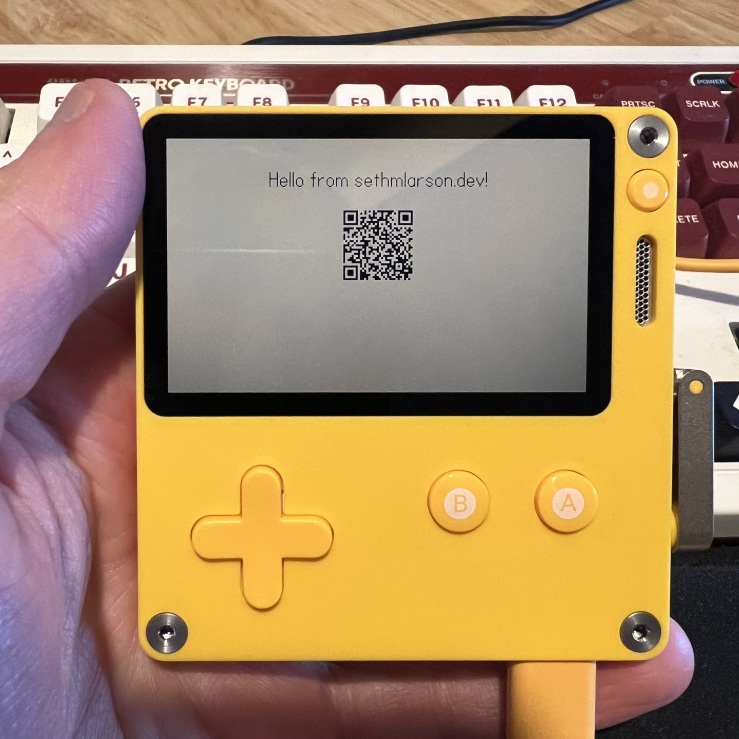
Running software on the Playdate!
Getting started with Playdate on Ubuntu
Here's what I did to quickly get started with a Playdate development environment on my Ubuntu 24.04 laptop:
- Unbox the Playdate and start charging the console so it's charged enough for the next steps involving the console.
- Create a Playdate account.
- Download the SDK. For Linux
you need to extract to your desired directory (I chose
~/PlaydateSDK) and run the setup script (sudo ~/PlaydateSDK/setup.sh). - Add the SDK
bintoPATHandPLAYDATE_SDK_PATHenvironment variables to your~/.bashrc. - Start the simulator (
PlaydateSimulator) and register the simulator to your Playdate account when prompted. - Turn on the console and play the startup tutorial. Connect to Wi-Fi and let the console update.
- When prompted by the console, register the console to your Playdate account.
- Download and install VSCode. I used the
.debinstaller for Ubuntu. - Disable all AI features in VSCode by adding
"chat.disableAIFeatures": trueto yoursettings.json. - Copy the
.vscodedirectory from this Playdate template project. The author of this template, SquidGod, has multiple video guides about Playdate development. - Select "Extensions" in VSCode and install the "Lua" and "Playdate Debug" extensions.
- Create two directories:
sourceandbuilds. Within thesourcedirectory create a file calledmain.lua. This file will be the entry-point into your Playdate application.
That's it, your Playdate development environment should be ready to use.
“Hello, world” on the Playdate
Within source/main.lua put the following Lua code:
import "CoreLibs/graphics"
import "CoreLibs/ui"

-- Localizing commonly used globals
local pd <const> = playdate
local gfx <const> = playdate.graphics

function playdate.update()
    gfx.drawTextAligned(
      "Hello, world",
      200, 30, kTextAlignment.center
    )
end
Try building and running this with the simulator Ctrl+Shift+B.
You should see our "Hello world" message in the simulator.
Running “Hello, world” on real hardware
Next is getting your game running on an actual Playdate console. Connect the Playdate to your computer using the USB cable and make sure the console is awake.
Start your game in the simulator (Ctrl+Shift+B)
and then once the simulator starts select Device > Upload Game to Device
in the menus or use the hotkey Ctrl+U.
Uploading the game to the Playdate console takes a few seconds, so be patient. The console will show a message like “Sharing DATA segment with USB. Will reboot when ejected”. You can select the "Home" button in the Playdate console menu to stop the game.
Making a network request
One of my initial hesitations with buying a Playdate
was that it didn't originally ship with network connectivity
within games, despite supporting Wi-Fi. This is no longer the
case, as this year
So immediately after my "Hello world" game, I wanted to try this new feature.
I created the following small application that sends an HTTP request
after pressing the A button:
import "CoreLibs/graphics"
import "CoreLibs/ui"

local pd <const> = playdate
local gfx <const> = playdate.graphics
local net <const> = playdate.network

local networkEnabled = false

function networkHttpRequest()
    local host = "sethmlarson.dev"
    local port = 443
    local useHttps = true
    local req = net.http.new(
      host, port, useHttps, "Making an HTTP request"
    )
    local path = "/"
    local headers = {}
    req:get(path, headers)
end

function networkEnabledCallback(err)
    networkEnabled = true
end

function init()
    net.setEnabled(true, networkEnabledCallback)
end

function playdate.update()
    gfx.clear()
    if networkEnabled then
        gfx.drawTextAligned(
          "Network enabled",
          200, 30, kTextAlignment.center
        )
        if pd.buttonJustPressed(pd.kButtonA) then
            networkHttpRequest()
        end
    else
        gfx.drawTextAligned(
          "Network disabled",
          200, 30, kTextAlignment.center
        )
    end
end

init()
First I tried running this program with a local HTTP server
on localhost:8080 with useHttps set to false and
was able to capture this HTTP request using Wireshark:
0000   47 45 54 20 2f 20 48 54 54 50 2f 31 2e 31 0d 0a   GET / HTTP/1.1..
0010   48 6f 73 74 3a 20 6c 6f 63 61 6c 68 6f 73 74 0d   Host: localhost.
0020   0a 55 73 65 72 2d 41 67 65 6e 74 3a 20 50 6c 61   .User-Agent: Pla
0030   79 64 61 74 65 2f 53 69 6d 0d 0a 43 6f 6e 6e 65   ydate/Sim..Conne
0040   63 74 69 6f 6e 3a 20 63 6c 6f 73 65 0d 0a 0d 0a   ction: close....
So we can see that Playdate HTTP requests are quite minimal, only sending
a Host, User-Agent and Connection: close header by default.
Keep-Alive and other headers can be optionally configured.
The User-Agent for the Playdate simulator was Playdate/Sim.
I then tested on real hardware and targeting my own website: sethmlarson.dev:443
with useHttps set to true. This resulted in the same request being sent,
with a User-Agent of Playdate/3.0.2.
There's no-doubt lots of experimentation ahead for what's possible with
a networked Playdate. That's all for now, happy cranking!
Wow, you made it to the end!
- Share your thoughts with me on Mastodon, email, or Bluesky.
- Browse this blog’s archive of 156 entries.
- Check out this list of cool stuff I found on the internet.
- Follow this blog on RSS or the email newsletter.
- Go outside (best option)