You're probably familiar with star trail photos, where a camera captures the stars as they circle around Polaris, forming trails. But have you ever seen a long-exposure photo of the earth at night, with her lights forming trails of their own? Me neither! So I made one. Here's how I did it using Photoshop.
To fake a long exposure shot of the earth at night, we need a sequence of frames that we'll blend together.
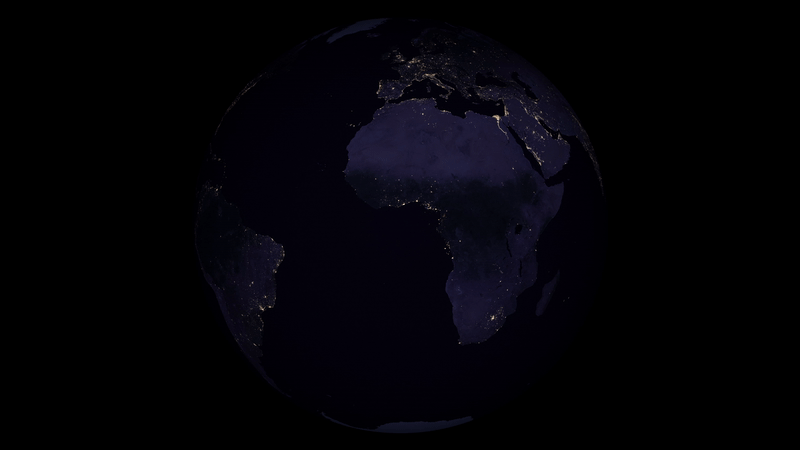
NASA's Suomi NPP captures such imagery. On the Earth Observatory page "Earth At Night" they've got a video of a full rotation of the earth at night from 2016 that we'll use to create our long exposure. Here's a direct link to that video.
Armed with our source data, we're ready to make our image. Here's how to do it.
Import The Video Into Photoshop
Open Photoshop and choose and select the video. (Download the video from here if you haven't already.)
Make All Layers Visible
Once all the layers have loaded, we'll need to make sure they are all visible.
Click on the first layer, then scroll all the way to the bottom, hold down shift and click on the last layer. Then go to the menu and choose Then, back into the menu and click . You should now have the layer visibility icon (an eye) next to each layer.
Yes, this step is a bit cumbersome. If you know of a better way to show all layers let me know!
Convert To A Smart Object
With all of the layers still selected, right click on the selection and choose
Stack The Layers
Now that we've got a smart object, go to and select .
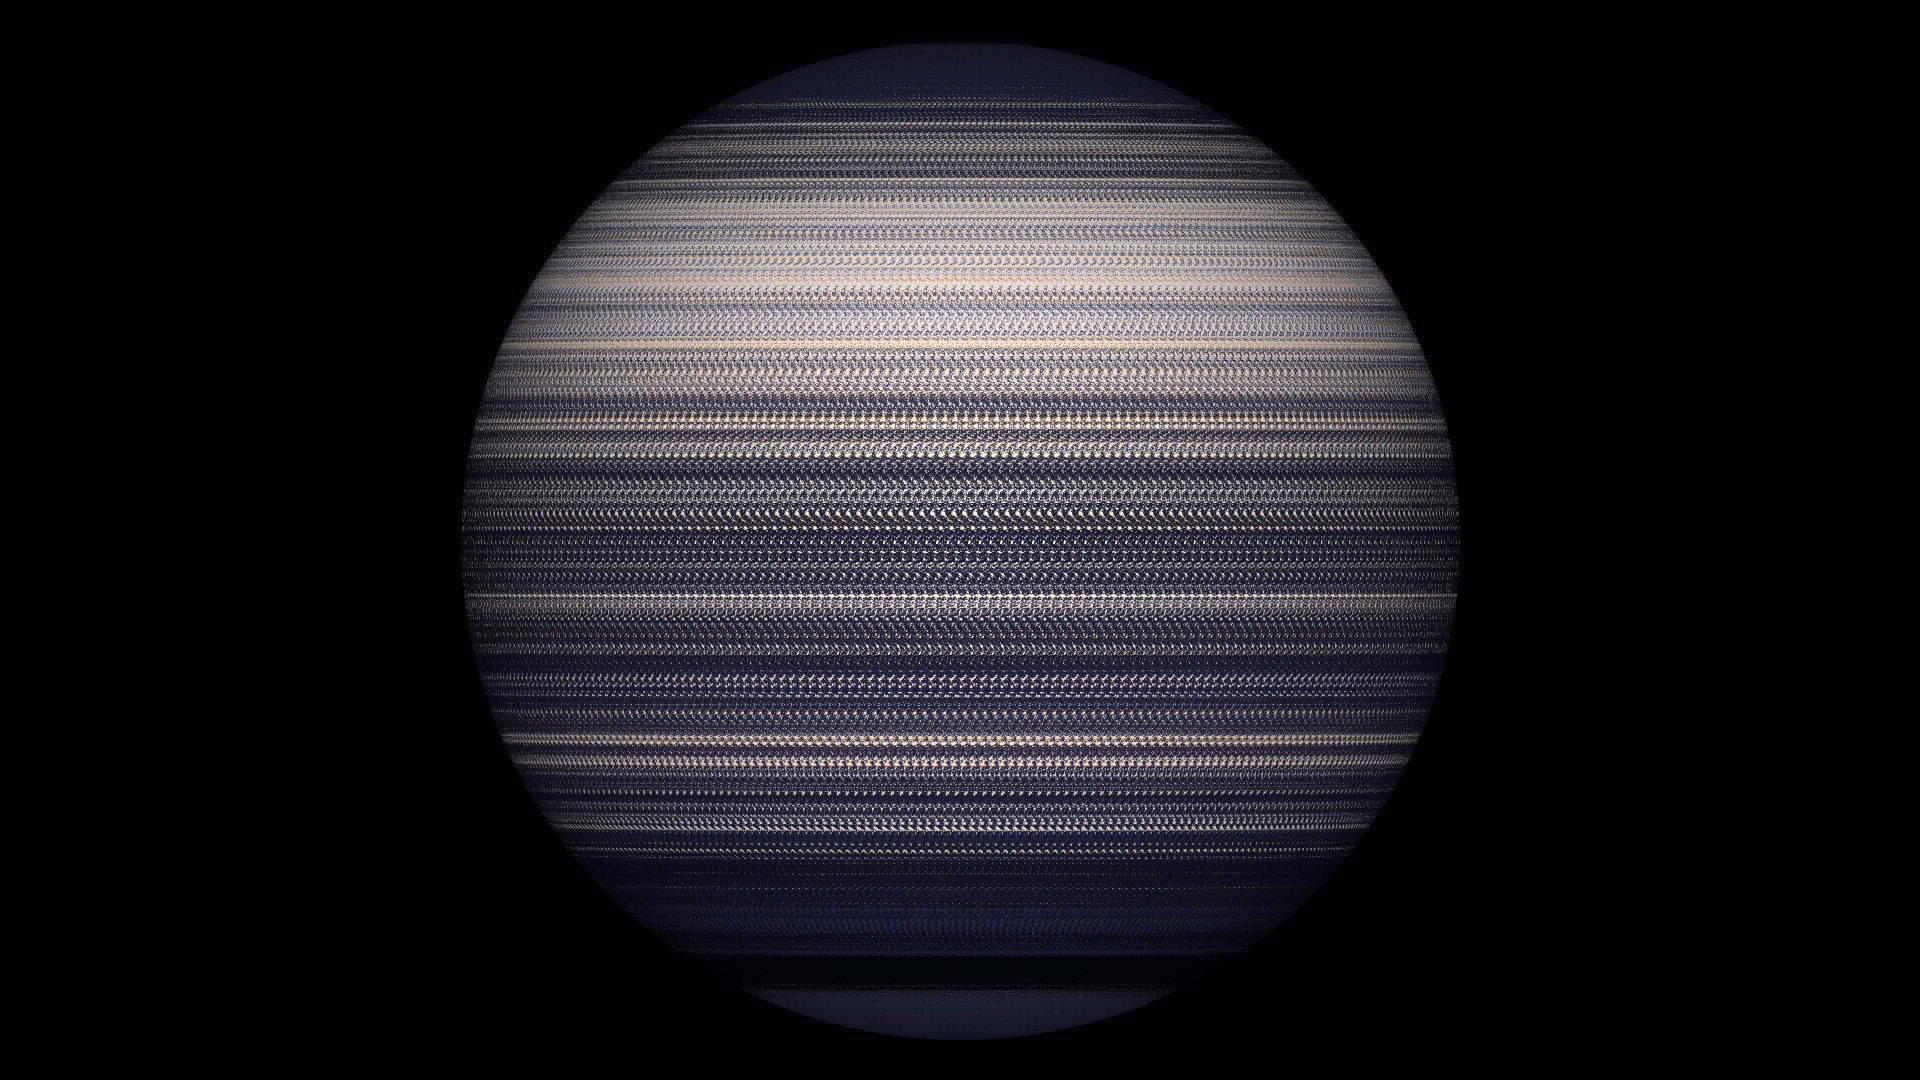
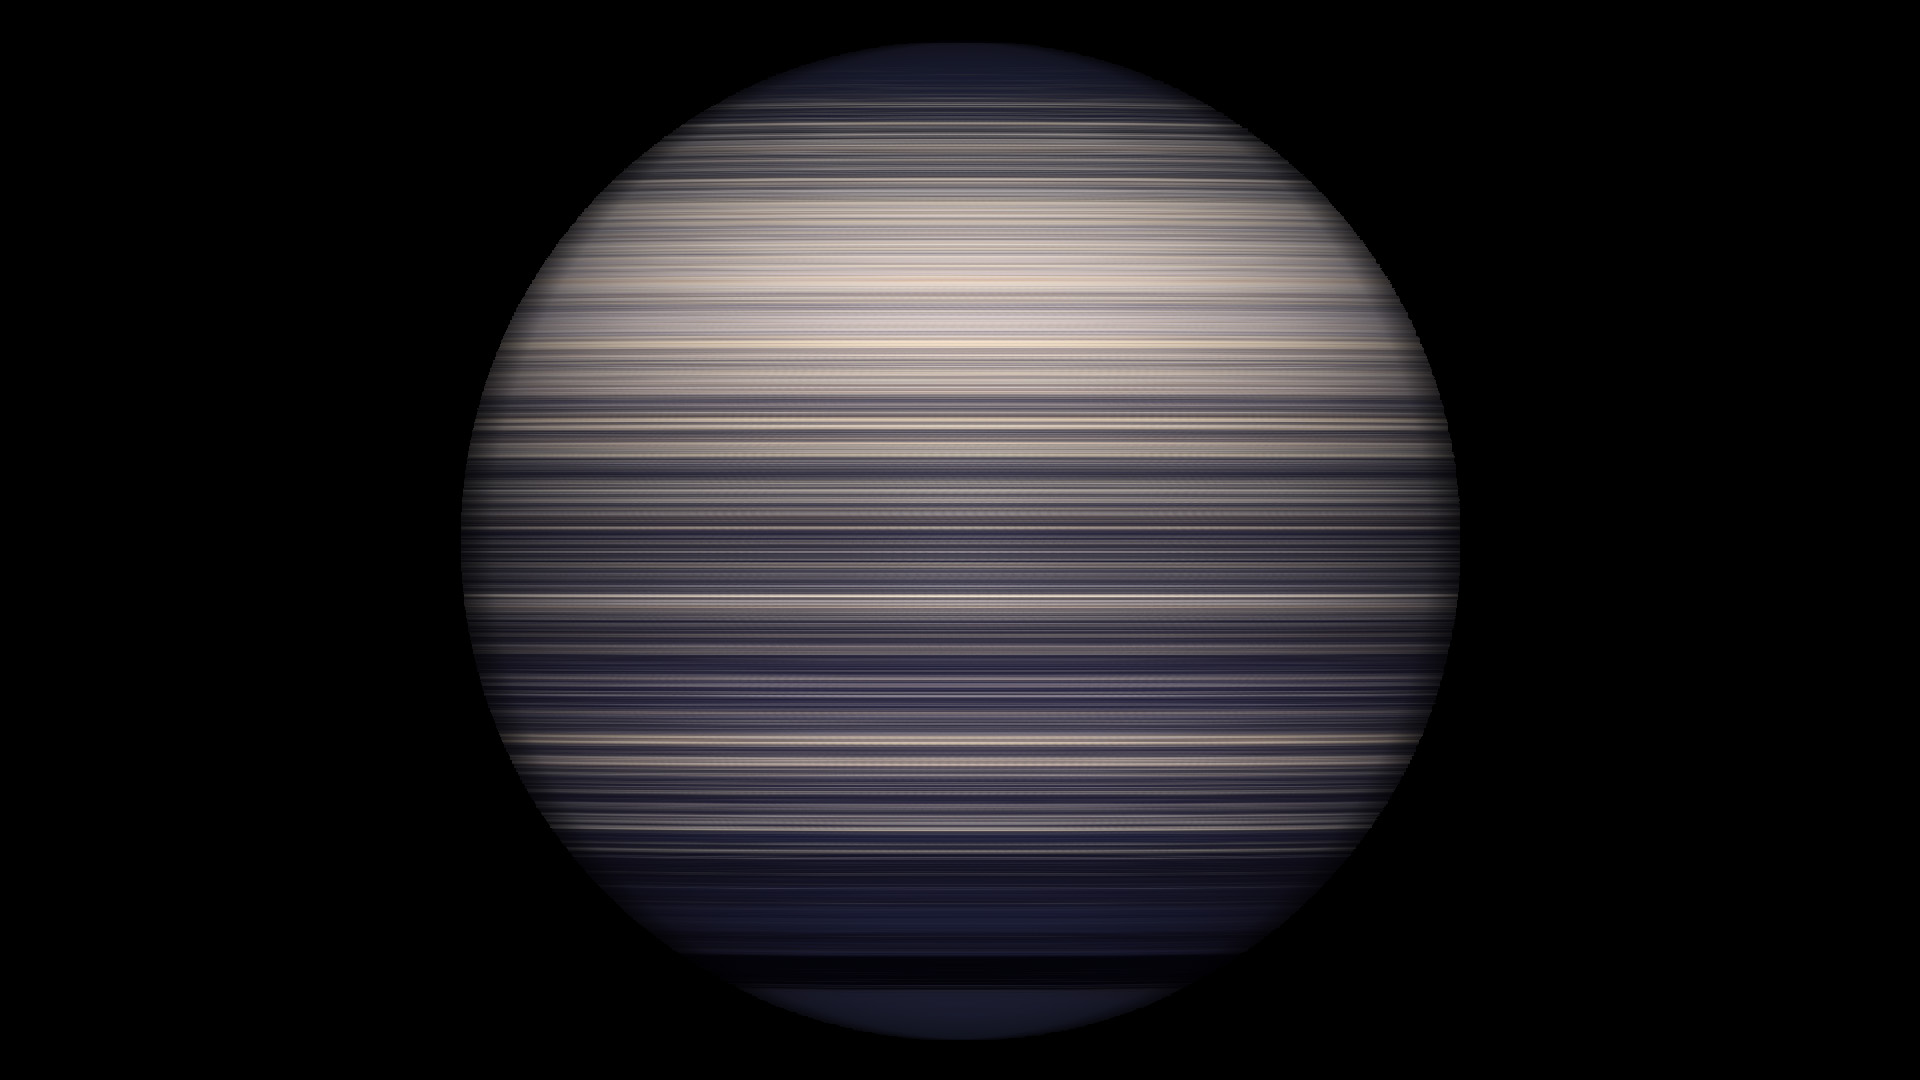
This will pull the brightest pixel from all the layers to the top. Now we can see the lights tracing their path around the earth.
But since this isn't a true long-exposure shot, we don't get those nice trails as the earth spins around, instead we see the lights as little dots for each frame.
Add Some Motion Blur
To fix this we'll add some motion blur. Go to . I found a blur of 60 pixels gave me a nice effect that turned our dots into lovely trails.
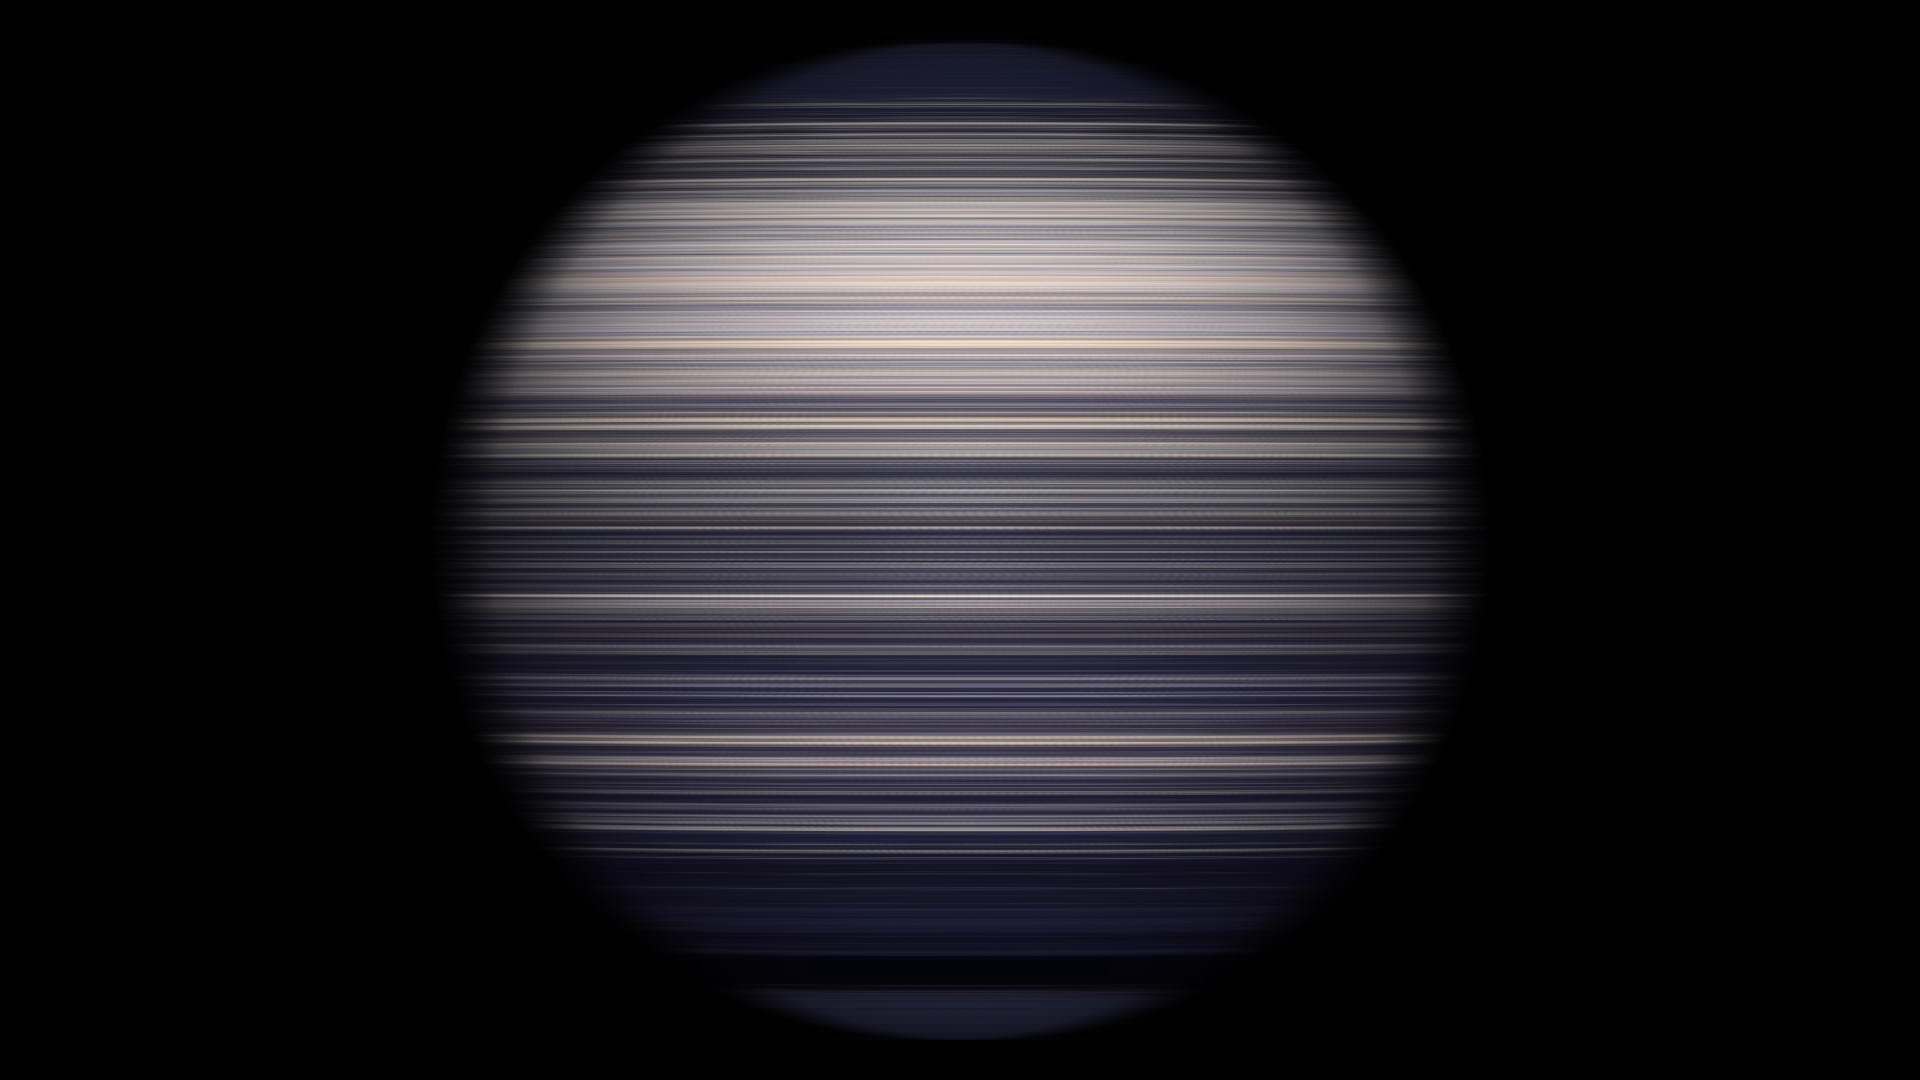
But now we've fuzzed out the shape of earth. Let's do something about that.
Create Layer At The Bounds of Earth
First, we'll undo our motion blur change. We'll bring it back in a minute.
Next, select a contiguous area using the magic wand tool targeting the black of space. Our goal is to create a selection of everything but earth. I found a tolerance of 4 got me the selection that I was looking for.
Go ahead and copy this selection and paste it into a new layer, putting it on top of our stacked smart object. It should look exactly the same as it did before we added motion blur.
Re-Add Motion Blur
Now that we've got our space layer, we can re-add the motion blur. Now, we just make sure our space layer is visible and on top of our motion blurred layer and voila, we've now got a faked long-exposure shot of earth at night!
Make It Pretty
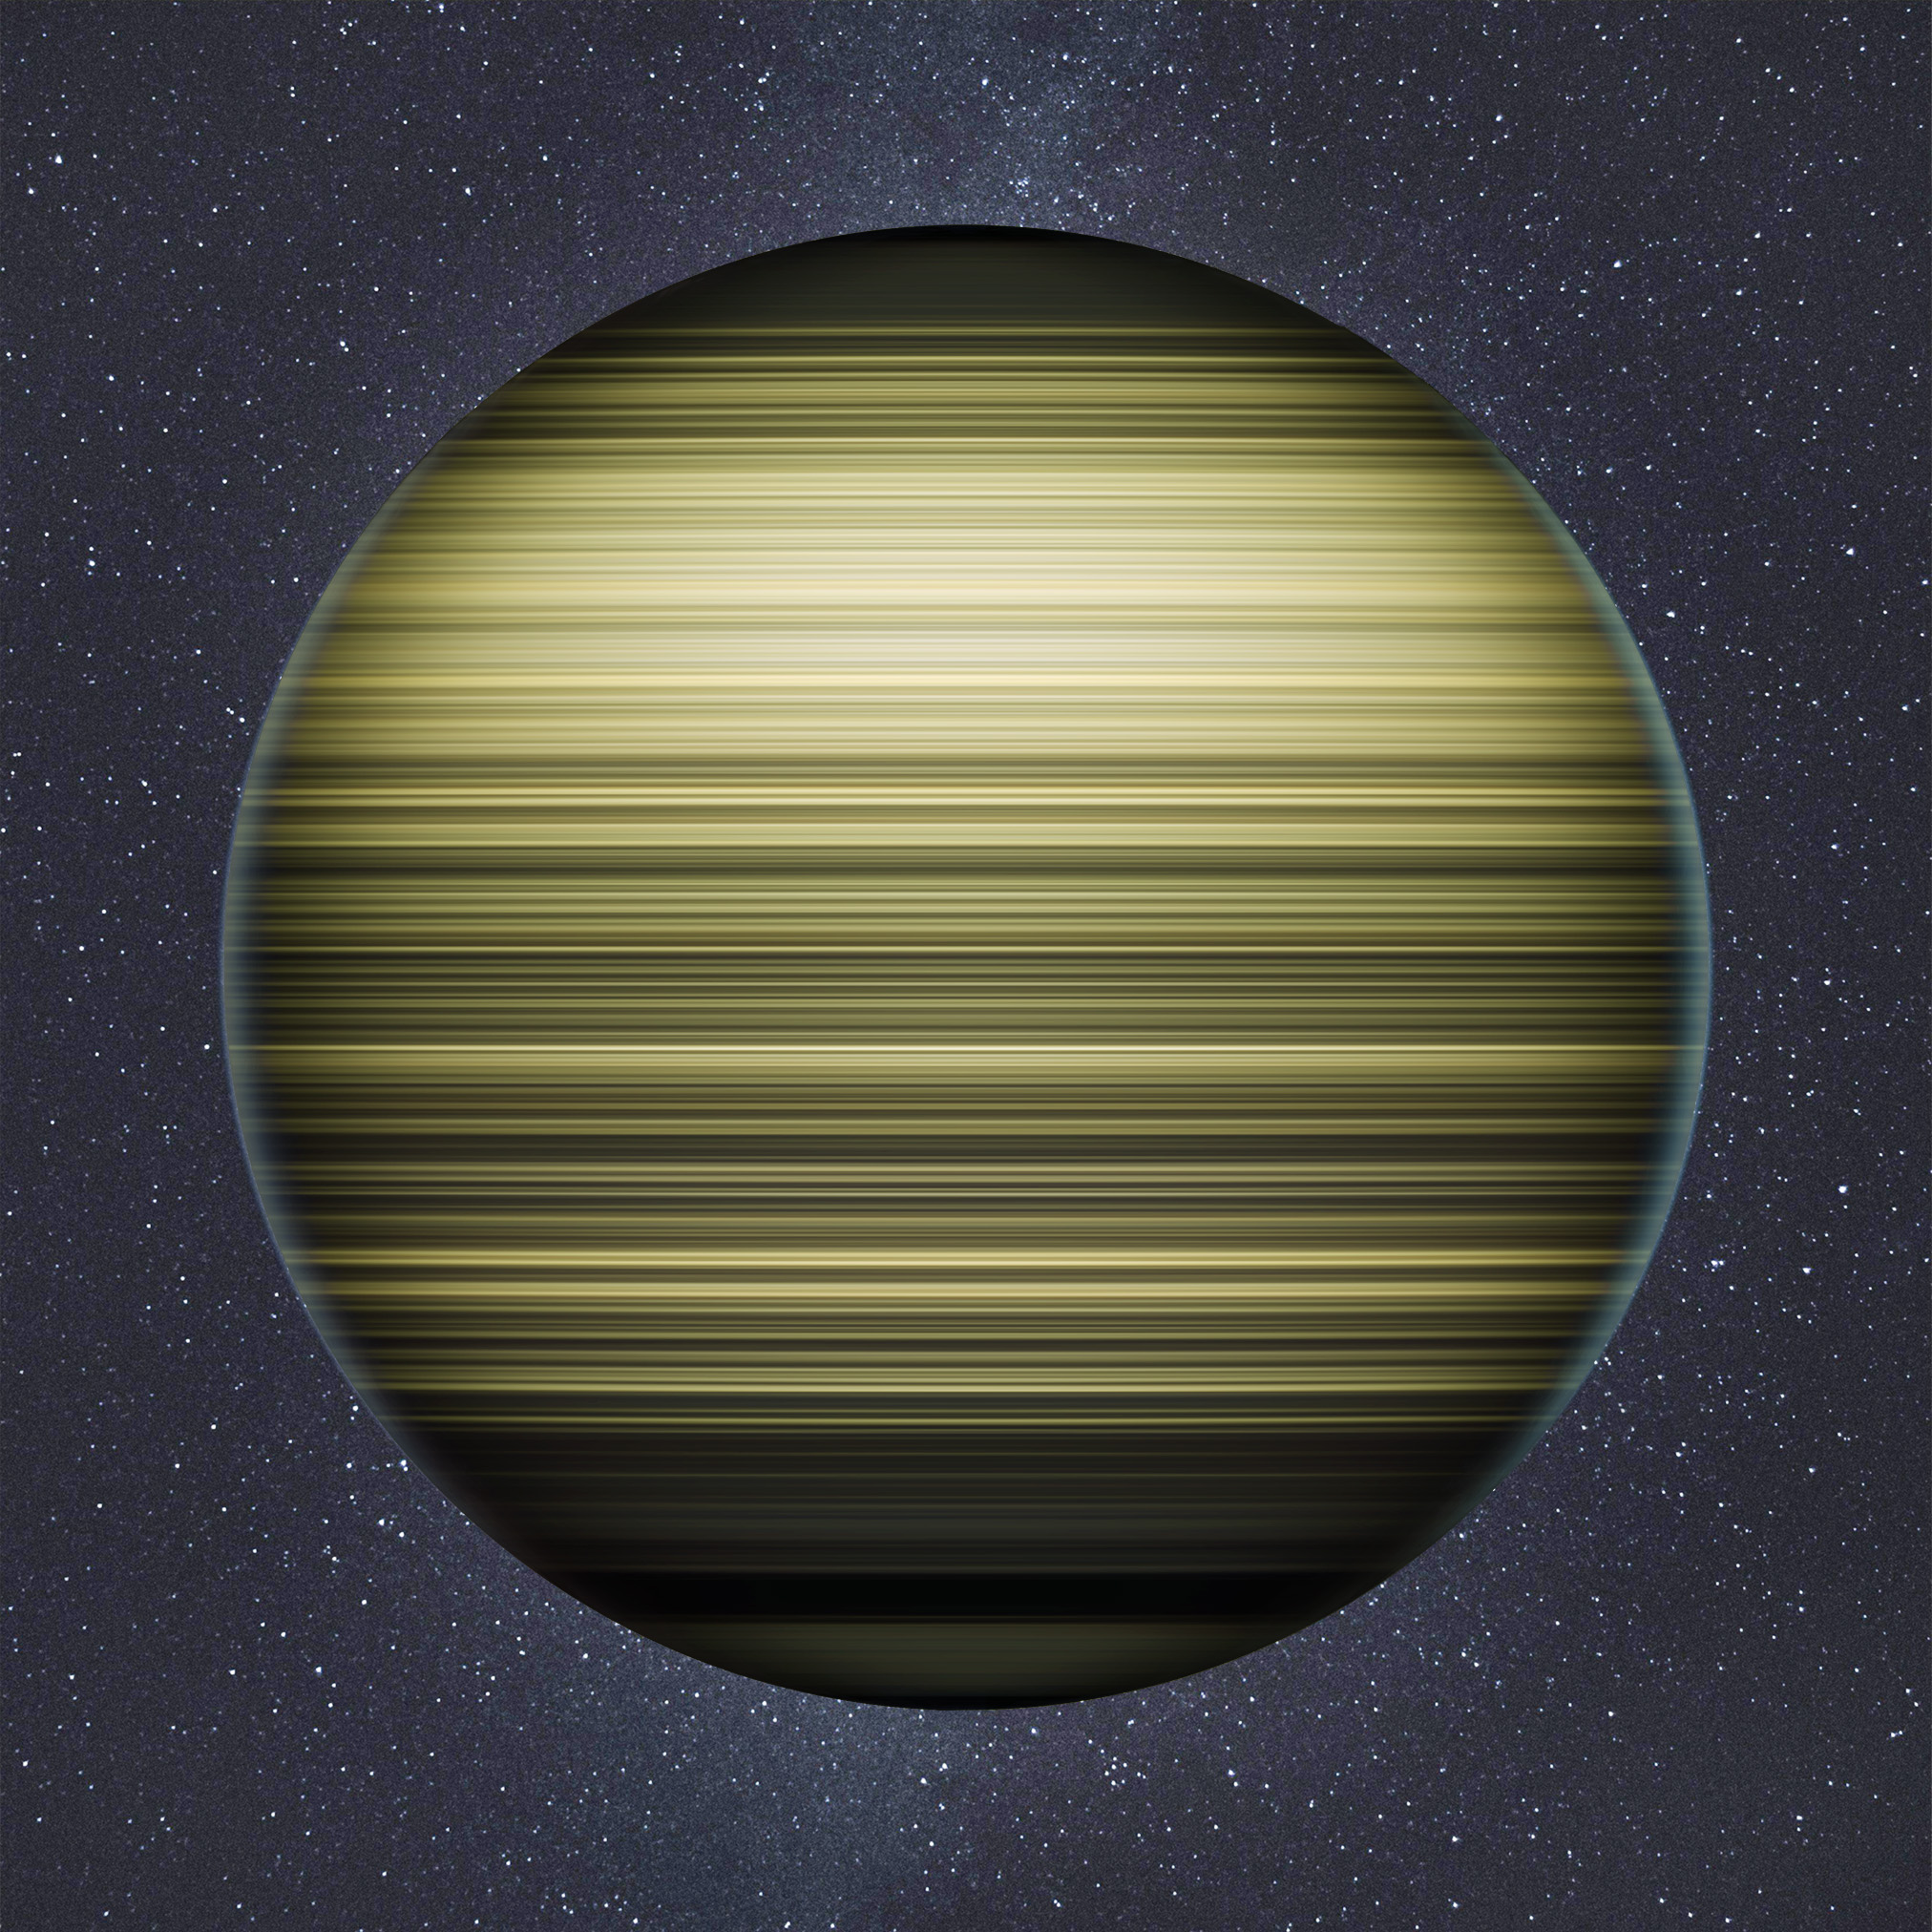
You'll of course notice that my image at the top doesn't look like the image we just created. It's true, I did some extra Photoshopping, changing the colors and adding a background of stars and some atmospheric glow around the edges of earth.
I leave the rest as an exercise to the reader!