There’s nothing quite as annoying as a highway speed vibration you can’t track down. You get the wheels balanced and the alignment checked, but at 70 MPH the steering wheel still shakes.
I decided to stop guessing and start measuring. I mounted a GoPro under the car
and used ffmpeg to visually isolate which wheel was causing the problem.
Here’s how to use frame differencing to diagnose mechanical vibrations.
The Setup
I bolted a GoPro to the frame of the car and pointed it at the suspension assembly. You need high frame rate footage (60fps or higher) of the wheel while driving at the exact speed the vibration happens.
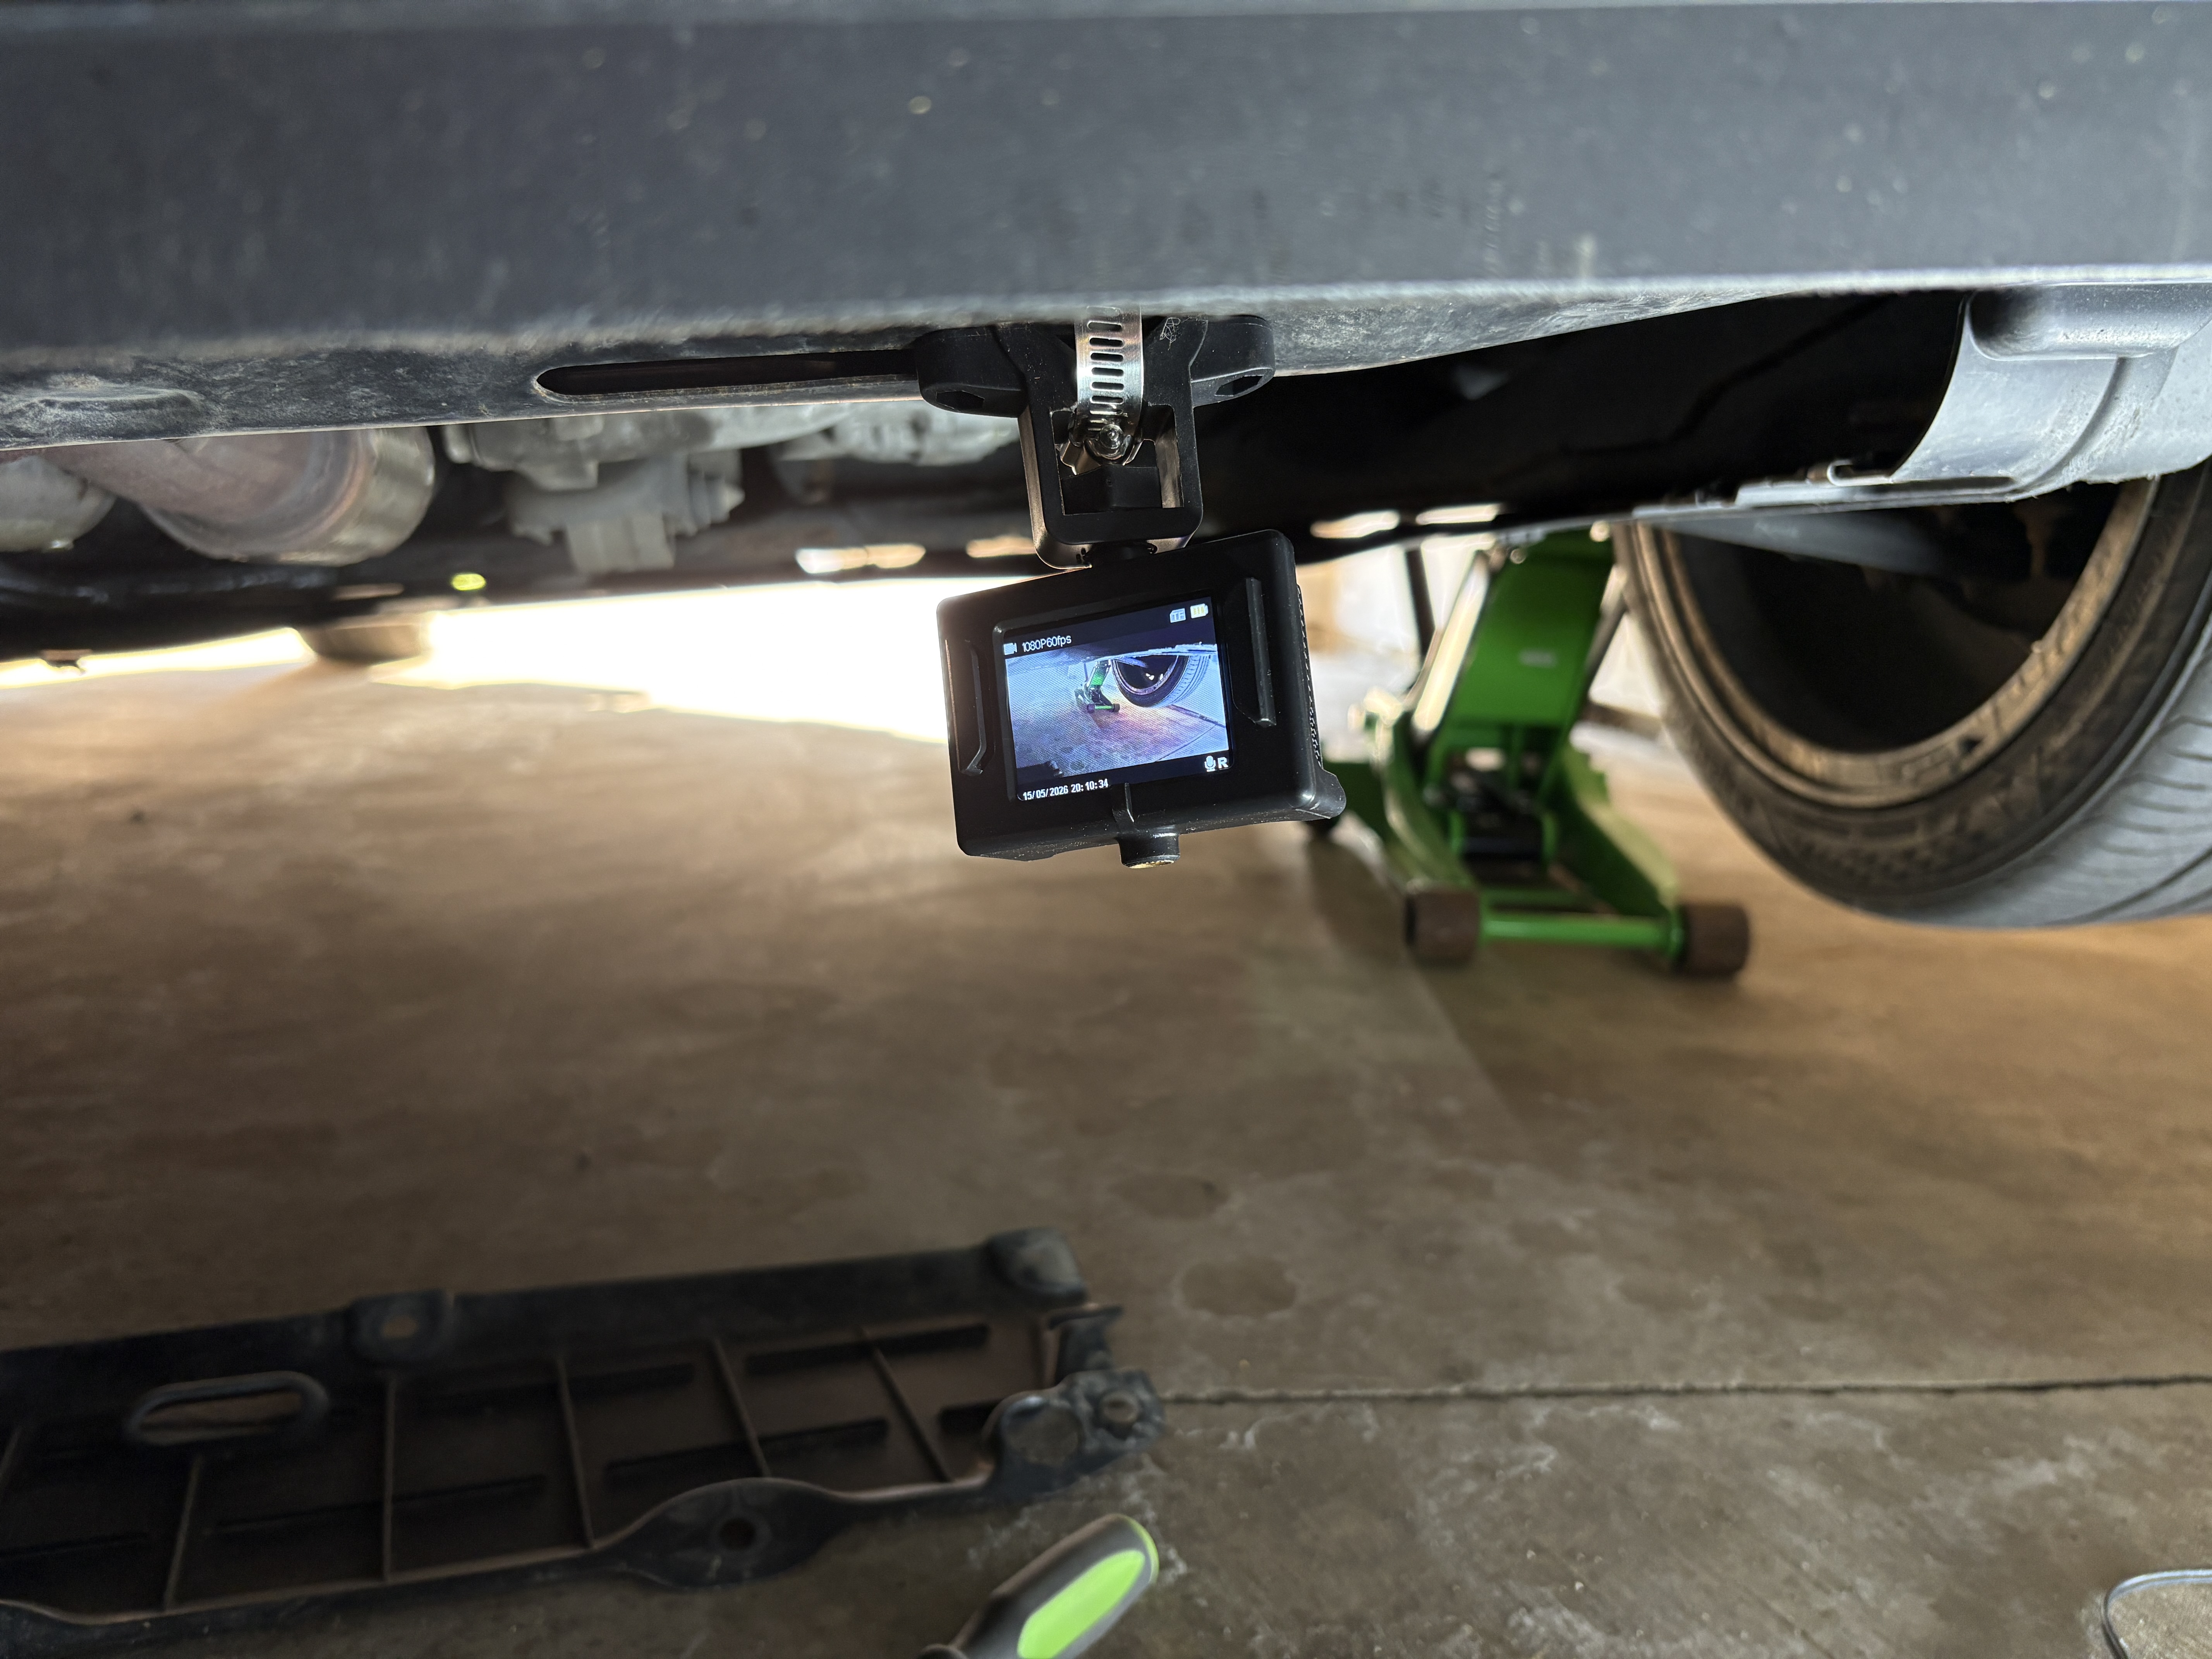
Once I had the footage, the real work began.
You need to know what you’re working with. Pull the metadata with ffprobe.
ffprobe -v error -show_format -show_streams input_video.mov
I generate a sheet of thumbnails to quickly find the parts of the video where the car is actually at highway speed so I’m not scrubbing through useless footage.
mkdir -p thumbnails
ffmpeg -i input_video.mov -vf "fps=1/60" thumbnails/thumb_%03d.jpg
Phase 2: Visual Evidence
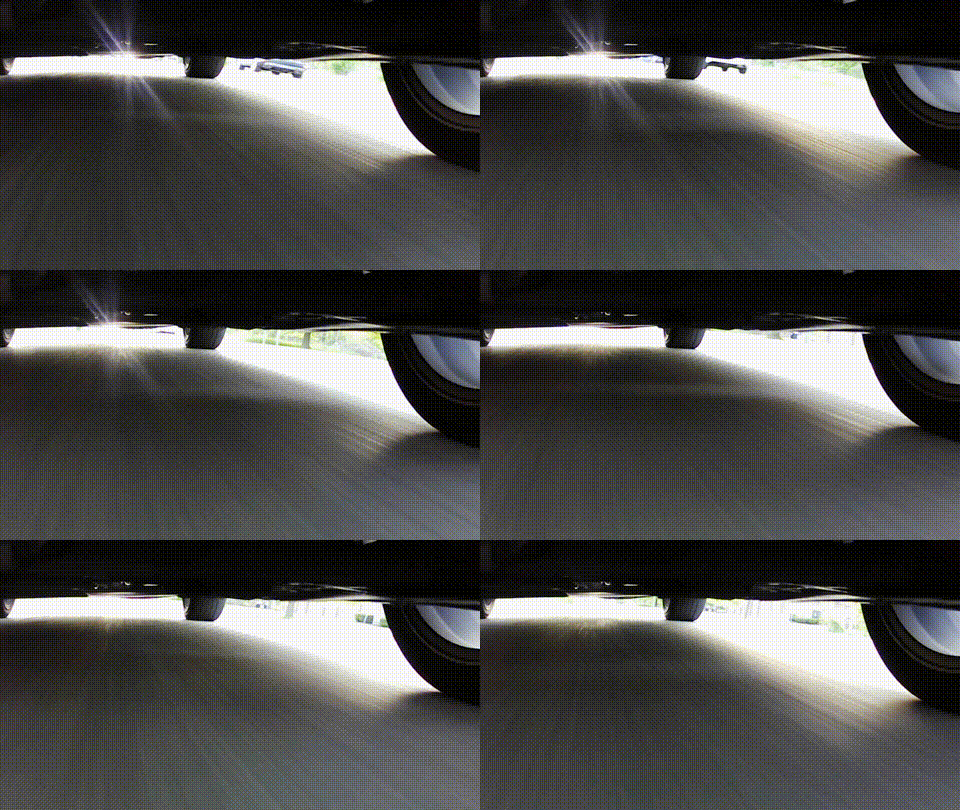
Before digging into the heavy filters, dump a quick scaled down GIF just to confirm the angle is usable.
ffmpeg -ss 00:05:30 -t 5 -i input_video.mov -vf "scale=480:-1" -r 15 -f gif observation.gif
Phase 3: Advanced Diagnosis (Vibration Isolation)
We need to prove a movement is a mechanical vibration instead of just a road bump. We use frame differencing for this.
Road bumps are irregular and move the whole frame. A mechanical imbalance is periodic and constant. Subtracting the previous frame from the current one highlights only the pixels that are actively changing.
The Filter
ffmpeg -y -ss [start_time] -t 3 -i input_video.mov \
  -vf "format=gray, tblend=all_mode=difference, scale=480:-1" \
  -r 15 -f gif vibration_diff.gif
format=gray: Strips color to focus purely on light intensity.tblend=all_mode=difference: Subtracts consecutive frames to isolate movement.
Interpreting the Results
In a difference map:
- Road bumps show up as sudden flashes across the whole assembly.
- Mechanical vibration shows up as constant ghosting around the edges of the wheel and suspension.
Driver Side (The Control)
Here is the driver side for comparison. The edges are cleaner and the ghosting is minimal.
 The difference map stays dark until the end when the tire hits a bump.
Passenger Side (The Problem)
A raw difference map on the passenger side is flooded with compression artifacts and camera sensor noise.
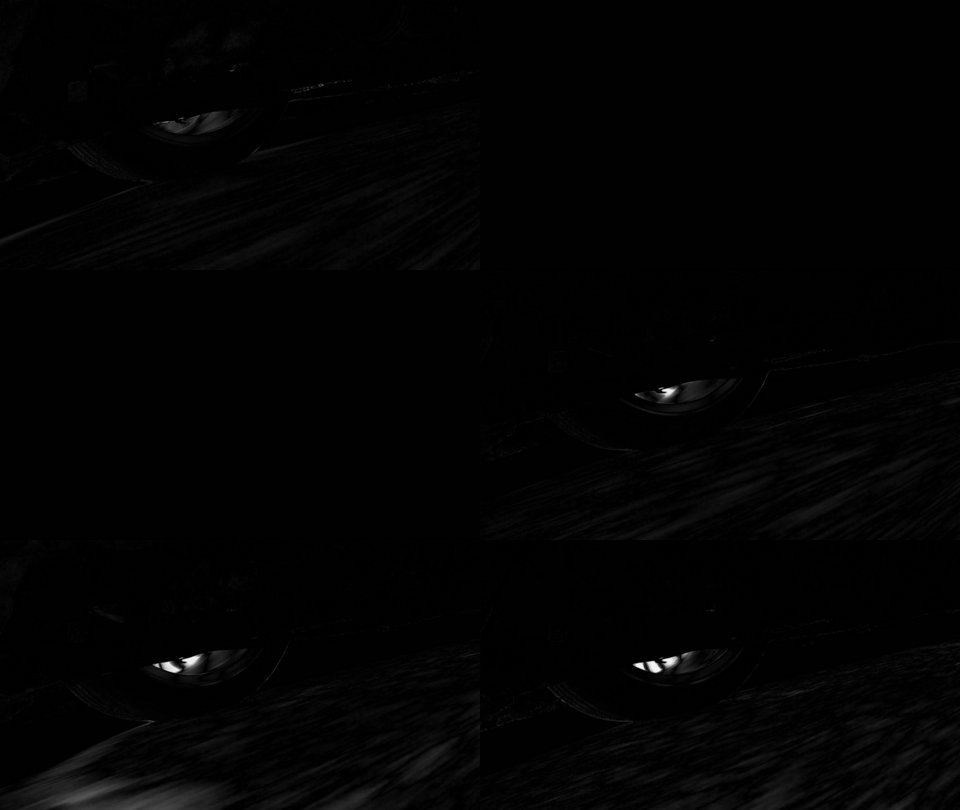 A basic frame difference without thresholding is too noisy.
We need to apply a threshold to the filter chain to clean this up and isolate
the actual mechanical vibration. Adding
lutyuv=y='if(gt(val,20),val,0)' drops any pixel intensity
change below 20 to solid black.
Here is the filtered result showing only the high frequency oscillation around the tire and control arms.
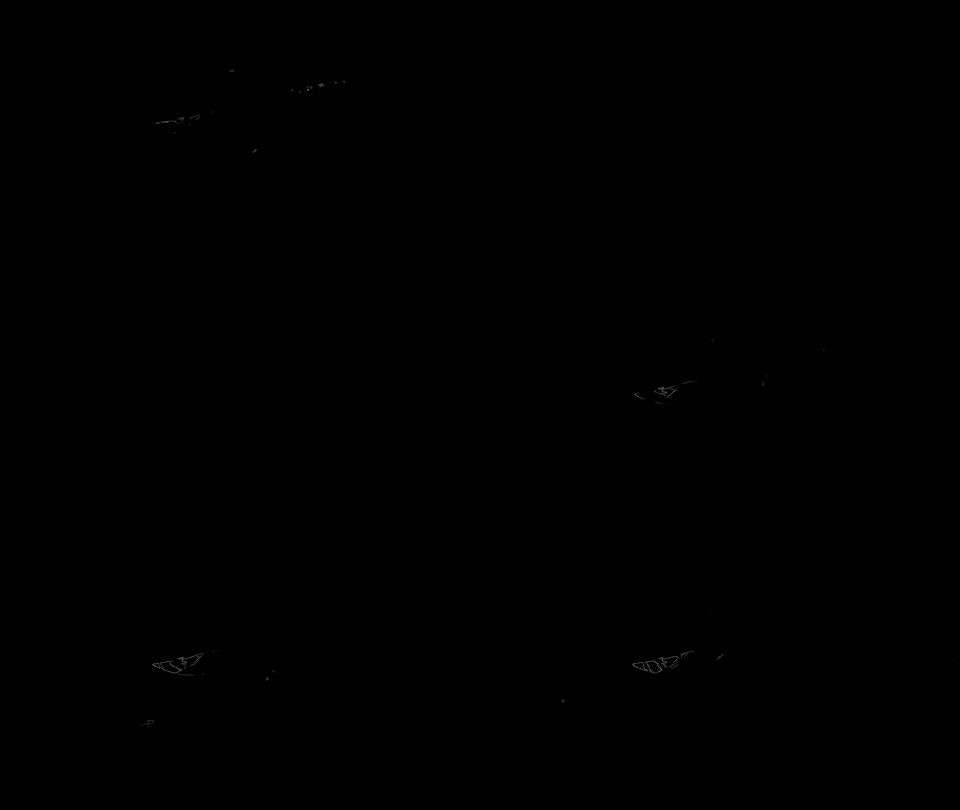 The thresholded difference map isolates the mechanical oscillation.
The Final Result: Visual Telemetry
Overlaying the difference map back onto the original footage and colorizing it magenta gives us visual telemetry.
The Filter Chain
This is the multi-step filter chain required to isolate the movement and paint it magenta.
ffmpeg -y -i observation.gif -i vibration_diff.gif -filter_complex \
  "[1:v]format=gray,lutyuv=y='if(gt(val,20),255,0)', \
   format=rgb24,lutrgb=g=0[magenta_mask]; \
   [0:v][magenta_mask]blend=all_mode=lighten,split[s0][s1]; \
   [s0]palettegen[p]; [s1][p]paletteuse" vibration_overlay.gif
How it works:
- Thresholding:
lutyuv=y='if(gt(val,20),255,0)'turns any pixel in the grayscale map with a value over 20 into pure white, leaving the rest black. This kills the road bump noise. - Colorizing:
lutrgb=g=0strips the green channel from the white mask to leave solid magenta. - Blending:
blend=all_mode=lightenoverlays the magenta highlights onto the original footage.
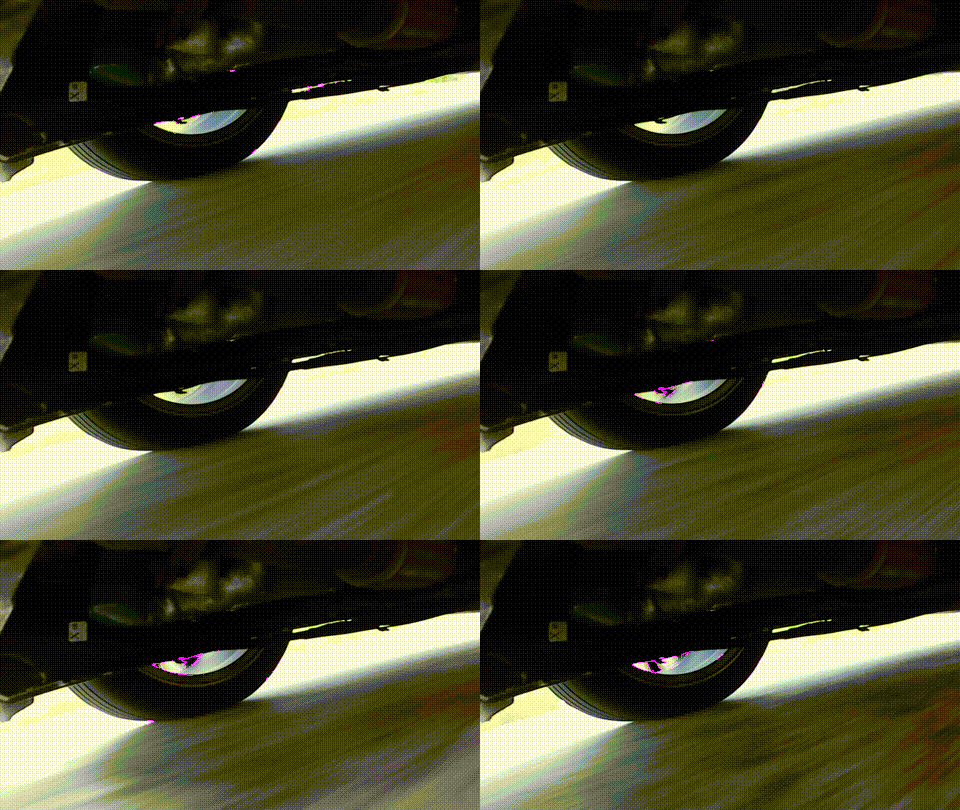
The magenta glow is concentrated on the tire tread and the suspension components. This is the smoking gun for a mechanical imbalance.
Conclusion
I pulled the passenger wheel off for a physical inspection. The passenger wheel had thrown a wheel weight and become imbalanced at highway speeds. I got the wheel rebalanced at a shop and the vibration was completely gone.
Using ffmpeg for visual telemetry lets you see the physical manifestation of
the issue and isolate the root cause before you start throwing parts at the car.
Next time your suspension shakes, grab a camera and run a difference map.