In the previous post, i discussed how you can add calm, decent smoky mist to your project. That can be used to make smoky chimneys, misty forests, and even IoT based fragrance control or sensorial alarm clocks and interfaces.
But some times you need more smoke, like a lot of it... You need literal smoke machine in your hand.
In this post, i will talk about how i built one using vapes and a 3D printer turbine fan and some risky electronics (which can be improved as i talk here).
Ingredients
A typical fog machine has three things:
- Fog Fluid
- Heater to vaporise the fog fluid
- A strong blower to blow out the vapor.
A typical vape has two things :
- A vape liquid laced with nicotine
- A heating coil/vape pod
- A human sucking on it to harm themselves voluntarily
Funny enough, a vape user is a lung powered fog machine (unless you missed it).
There are many resources online of people making their own fog fluid and companies teaching humans on how to make their own 'recipes' of vape fluid.
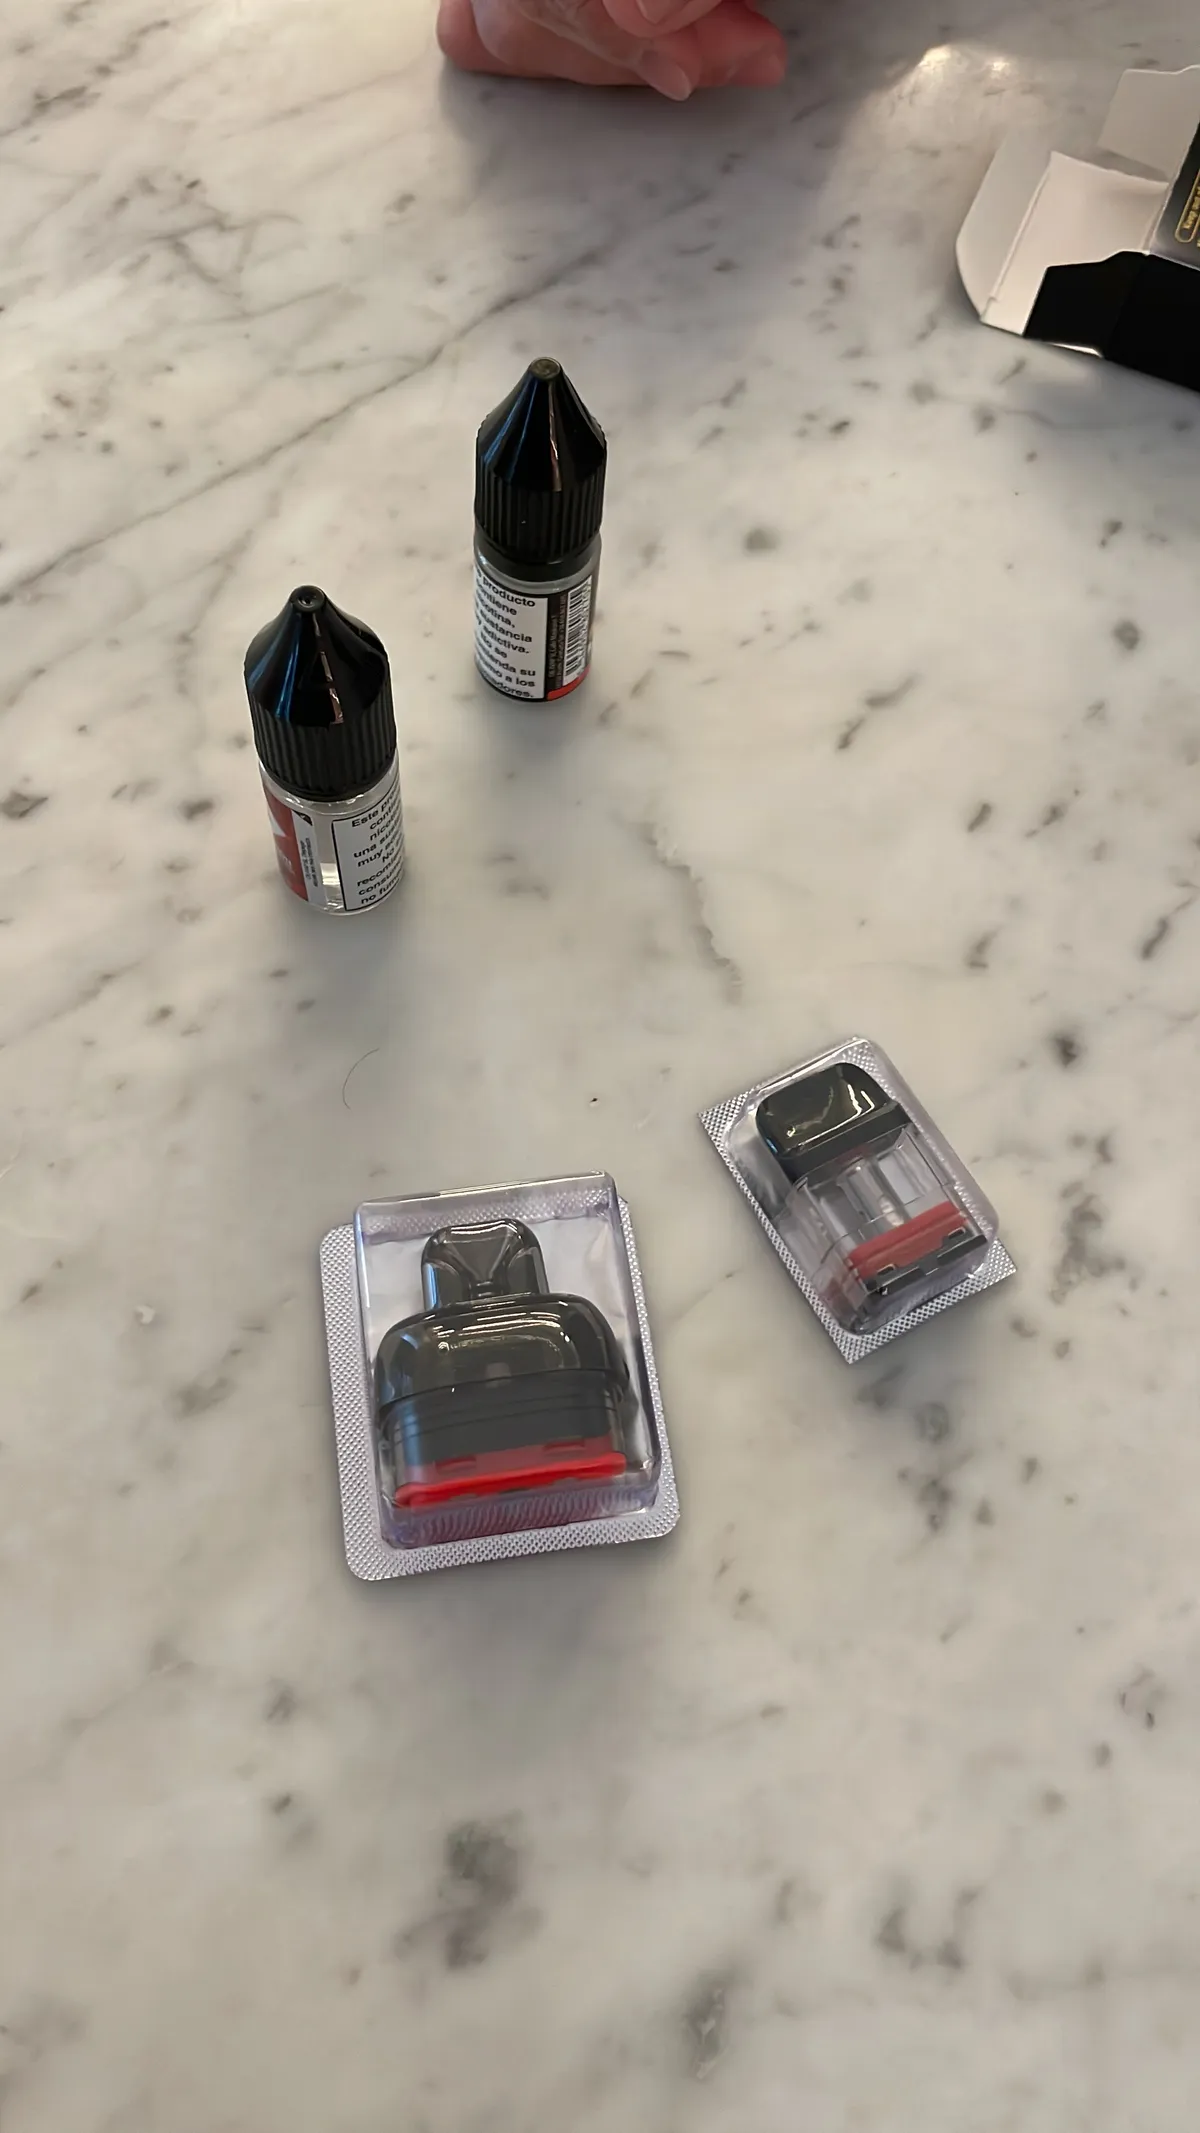
But essentially, they are the same. Its a mix of VG and PG. VG is Vegetable Glycerine (or as my friend says, vegan glycerine), and PG is polyglycol. So, I just walked into a local vape store and told them about my little experiment. They were happy to suggest me some cartridges/pods to buy.
Making it work
So, we need a human lung replacement to blow air into the pod and at the same time heat the coil to vaporise the foggy vape fluid and we should have our own...

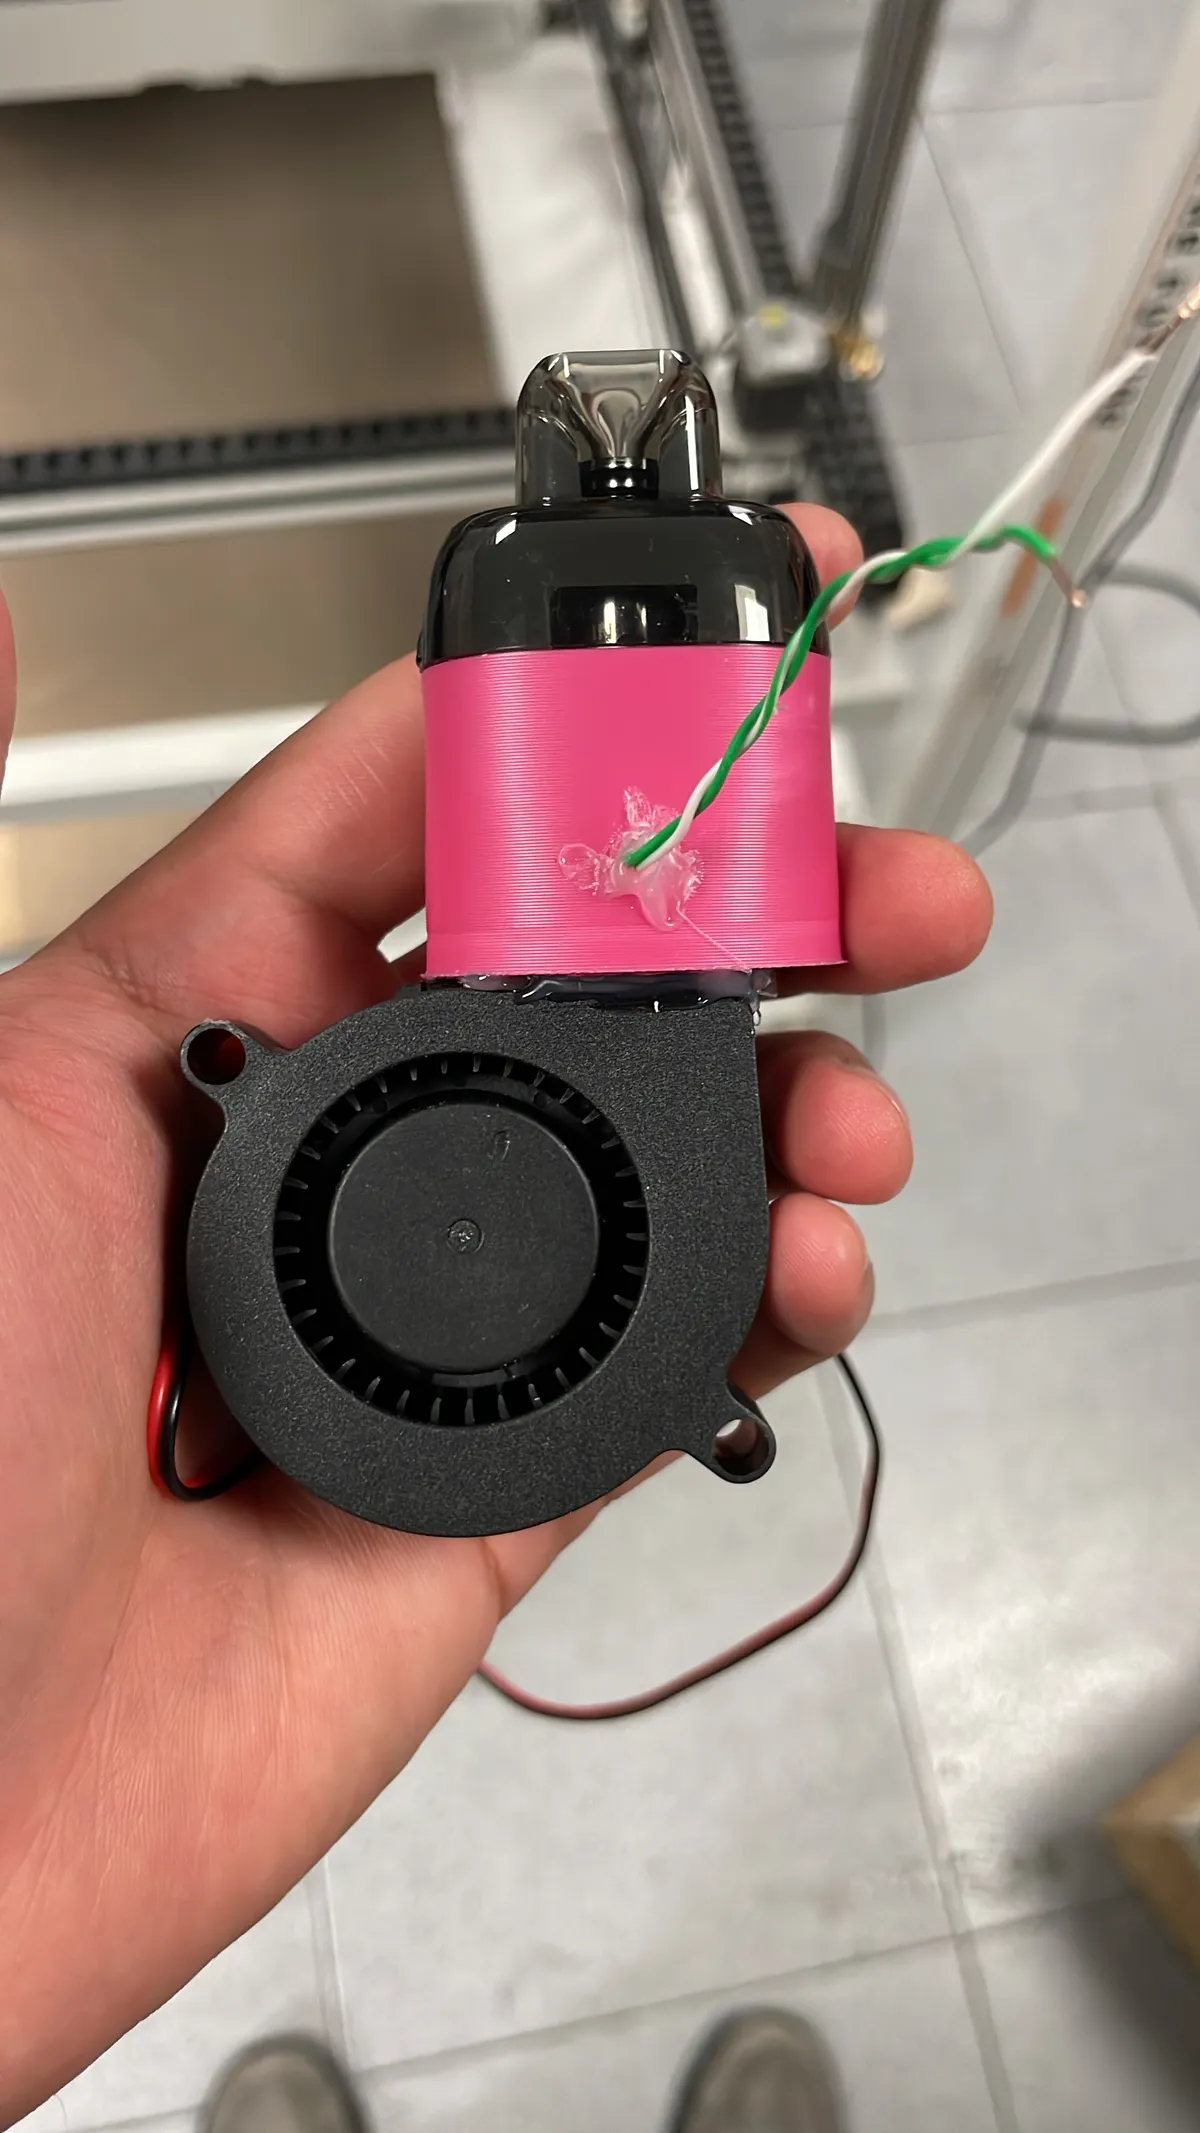
I 3D printed a coupler that connects the fan (which i had from a previous project) to a Vape Pod. Added some pogo pings to connect to the pads of the pods. Based on your locale, your mileage may vary. Getting a lower resistance pod usually led to more smoke but higher currents to manage. Ah yeah! Hot glue, the fan in place.
You can also make the fan sit flat and pod is normal/perpendicular to it to save space. That works too. Just make sure there is enough room for it to draw air.
Here is the completed "artefact".
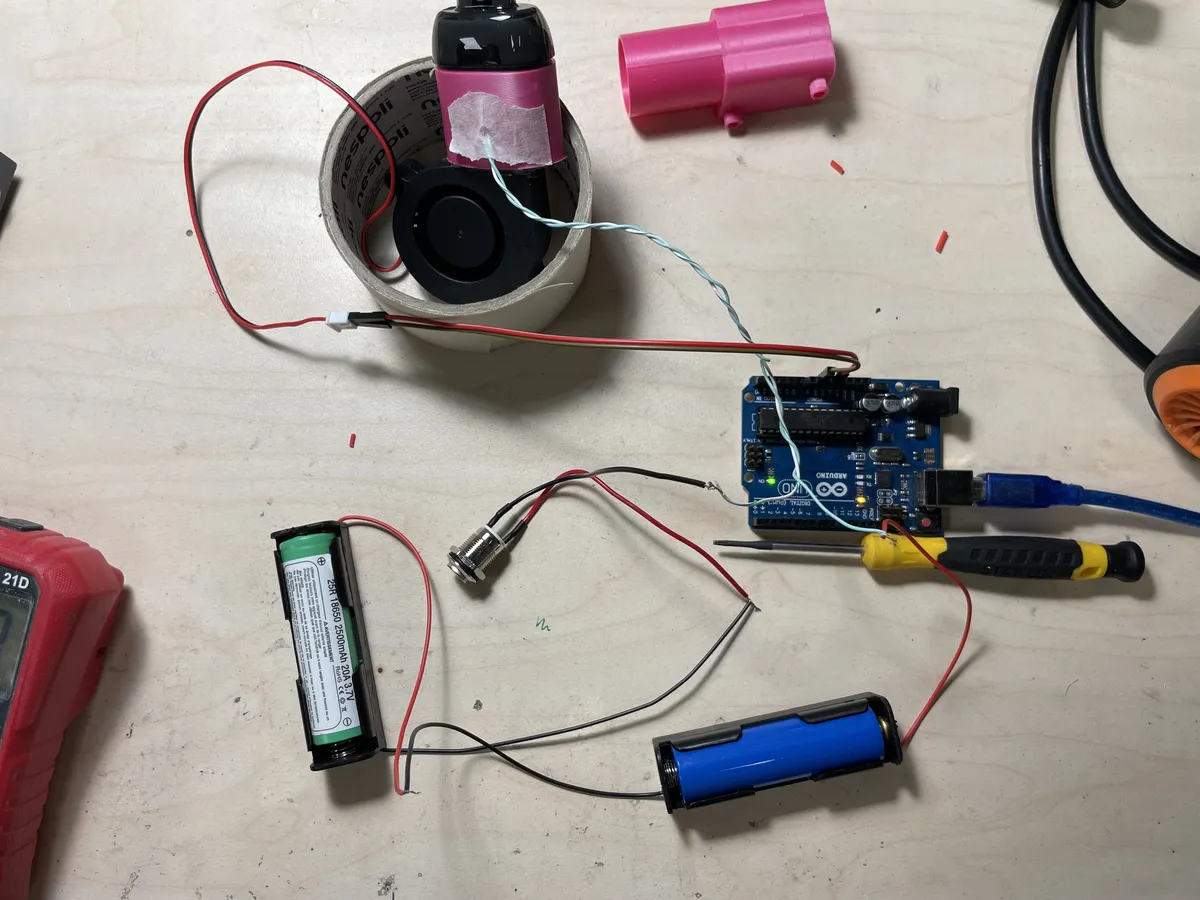
... or a working specimen as shown below. I just used a DC motor controller that I also use in my OpenBender to provide some electron juice to the heating coils and control it with a switch. It works well.
Putting it together
Now that we have the mechanics working, lets work on the electronics. Controlling the coil, is like controlling a low resistance load. One can use a MOSFET to do the job here like most vapes do. If you want to do a good job, you may as well add a current sensing to check the load and modulate it (..and even 'detect' coil health or failure).
But... I just connected a Single cell Li-Ion 18650 battery across it using a switch and let Ohms law do the its thing. Please do not do that.
One thing to note if your power source is loaded with the coil and you are running microcontrollers.. You may have to design the system to not trigger the browout/low voltage... Or you can just have a separate battery for the vape driving. It all depends on you.. but do better.
Also, Adam Savage showed this on his show that inspired me to make this.
Safety Recommendations
- Do not make smoke indoors or poorly ventilated areas
- This is not a toy. The smoke is not great for your lungs.
- Never power the coil without the fluid.
- Make sure the fan is running before you power the coil.
- Use only vape grade PG and VG.
- You can use those generic pipe style screw-in vape cartridges but in my experience they are not very consistent and I prefer these refillable ones.
So, where will you use your new fog machine?
Cheers, Rohit
BTW, I am the founder of Studio-021, where I help clients make ideas real and solve complex challenges. If you are looking for someone who can help you get unstuck, give me a call :)