
![]()
Free and open source Image Optimization & Transformation API built in Go using govips (libvips) and Serverless. Ready to be deployed on AWS Lambda and CloudFront.
How to deploy to AWS and Run
Table of contents
Eagle CLI
The eagle CLI lets you deploy the Eagle Image API to your own AWS account with a single command.
Install via Homebrew
brew install nicobistolfi/carbon/eagle
Install via Go
go install github.com/nicobistolfi/eagle-image-api/cmd/eagle@latest
Usage
# Deploy to AWS (dev stage, us-west-1)
eagle deploy

# Deploy to production in a specific region
eagle deploy --stage prod --region us-east-1

# Deploy with custom parameters
eagle deploy --stage dev --quality 90 --webp true --avif true

# Use a local CloudFormation template
eagle deploy --template ./template.yml

# Show version
eagle --version

# Show help
eagle deploy --help
The deploy command will:
- Fetch the CloudFormation template from GitHub (or use a local
--template) - Create an ECR repository in your AWS account if needed
- Pull the public Docker Hub image and push it to your ECR
- Create or update the CloudFormation stack
- Print the API Gateway and CloudFront URLs on success
AWS credentials are read from the standard credential chain (environment variables, ~/.aws/credentials, IAM role).
Getting started
Prerequisites
- Go 1.22+
- libvips 8.10+ (
brew install vipson macOS,apt install libvips-devon Ubuntu) - Task (
go install github.com/go-task/task/v3/cmd/task@latestorbrew install go-task) - Docker (for deployment)
- Serverless Framework (
npm install -g serverless)
Setting up .env file
First copy and rename the .env.example file.
Then change the values to your needs. Use the following table to understand what each variable does.
| Variable | Accepted values | Comments |
|---|---|---|
| ENVIRONMENT | production / development | |
| API_ENDPOINT | /api/v1/image | the path to access the api |
| PORT | 3000 | The port you want it to run locally. |
| QUALITY | 90 | Suggested between 70 and 90 depending on the use case |
| FIT | outside | Default resize fit mode |
| LOG_LEVEL | error / warn / info / debug | |
| ORIGIN_WHITELIST | yourorigin.com,other.com | Use * to allow all origins |
| REDIRECT_ON_ERROR | false | Will redirect to original image on error |
| WEBP | true/false | Enables webp format if accept header includes image/webp |
| AVIF | true/false | Enables avif format if accept header includes image/avif |
| AVIF_MAX_MP | Number | Maximum megapixels for avif format on output. |
Run locally
# Build
task build

# Run tests
task test

# Run locally
task dev

# List all available tasks
task
You can try it by accessing the following url on your browser:
http://localhost:3000/dev/api/v1/image?url=https%3A%2F%2Feagle-image-test.s3.us-west-1.amazonaws.com%2Fpublic%2Feagle-2.jpg
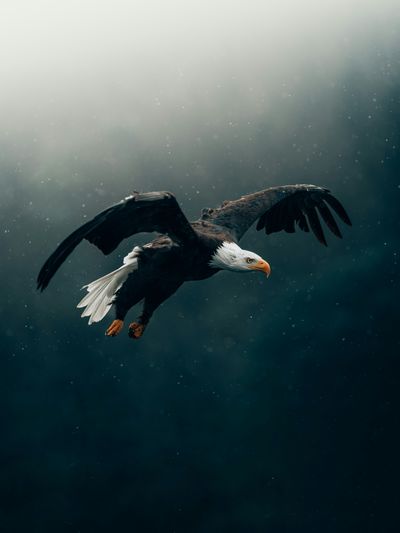
The url query param is required and should be a valid url encoded string. In this case for testing purposes we are using an image hosted on S3. The original image URL is:
https://eagle-image-test.s3.us-west-1.amazonaws.com/public/eagle-2.jpg

Photo by Philipp Pilz on Unsplash
Deploy to AWS
The API is deployed as a Docker container on AWS Lambda via Serverless Framework.
# Deploy to dev (via Serverless Framework)
sls deploy --stage dev

# Deploy to production (via Serverless Framework)
sls deploy --stage production
Run in Postman
To run and test the API you can use the following Postman collection

Usage
The API uses query params to transform the images.
| Query param | Description | Values |
|---|---|---|
| url | URL that points to the original location of the image (URL-encoded) | String (required) |
| width | Width | Number |
| height | Height | Number |
| fit | When both a width and height are provided, the possible methods by which the image should fit these are: | cover / contain / fill / inside / outside |
| position | When using a fit of cover or contain, the default position is centre. Other options are: | top, right top, right, right bottom, bottom, left bottom, left, left top |
| quality | Quality | Number (0-100) |
| lossless | Use lossless compression mode | Boolean |
| blur | Gaussian blur | Number (0-100) |
| sharpen | Sharpen | Number (1-100) |
| flip | Flip vertically | Boolean |
| flop | Flip horizontally | Boolean |
| rotate | Rotate by angle | Number (degrees) |
| webpEffort | WebP compression effort | Number (0-6) |
| alphaQuality | Quality of alpha layer | Number (0-100) |
| loop | GIF number of animation iterations, use 0 for infinite | Number |
| delay | GIF delay between frames (in milliseconds) | Number |
Usage examples
You can use the following examples to understand how to use it. Remember to replace the API_ENDPOINT with the one you set on your .env file.
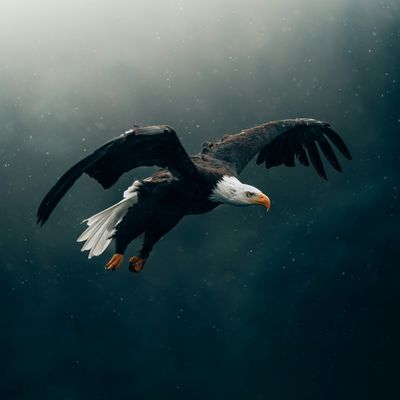
Resize
{{API_ENDPOINT}}/api/v1/image?width=400&height=400&url={{IMAGE_URL}}
View original api response here
Resize and crop with fit cover
{{API_ENDPOINT}}/api/v1/image?width=400&height=400&fit=cover&url={{IMAGE_URL}}
View original api response here
Resize and crop with fit contain
This will deform the image to fit the size
{{API_ENDPOINT}}/api/v1/image?width=400&height=400&fit=contain&url={{IMAGE_URL}}

View original api response here
Resize and crop with position top
{{API_ENDPOINT}}/api/v1/image?width=400&height=400&fit=cover&position=top&url={{IMAGE_URL}}

View original api response here
Resize and crop with position and quality
For the purpose of this test we set quality=10 just to test it, normally you should use quality between 70-90
{{API_ENDPOINT}}/api/v1/image?width=400&height=400&fit=cover&position=top&quality=10&url={{IMAGE_URL}}

View original api response here
Lossless compression
{{API_ENDPOINT}}/api/v1/image?quality=80&lossless=true&url={{IMAGE_URL}}
