Whook is a high-performance, self-hosted webhook management system built with FastAPI. Supports SQLite, PostgreSQL, and MySQL/MariaDB. Features real-time monitoring, background processing, Google SSO authentication, and multi-user support.
✨ Features
- Google SSO Authentication: Secure login with Google accounts
- Multi-User Support: Each user has their own isolated webhooks
- Multi-Database Support: SQLite, PostgreSQL, MySQL/MariaDB
- Real-time Updates: WebSocket support for live webhook monitoring
- Background Processing: Redis + RQ for async webhook handling
- Modern UI: Clean, professional interface with Shoelace components
- Payload Forwarding: Route received webhooks to multiple destination URLs
- JSON Transformation: Customize webhook payloads before forwarding
- Self-Hosted: Full control over your data and environment
🚀 Quick Start
Using Docker Compose (Recommended)
# Clone the repository
git clone <your-repo-url>
cd whook

# Copy environment file and configure
cp .env.example .env
# Edit .env with your Google OAuth credentials

# Start PostgreSQL and Redis
docker-compose up -d

# Install dependencies and run
pip install -r requirements.txt
# OR with uv
uv sync

# Start the application
./run.sh
Using SQLite (Simplest)
# Set DATABASE_URL in .env
DATABASE_URL=sqlite:///webhooks.db

# Start Redis (required)
docker-compose up -d redis

# Run the application
./run.sh
📋 Requirements
- Python 3.11+
- Redis 6+
- Database: SQLite, PostgreSQL 12+, or MySQL/MariaDB 10+
🔧 Configuration
Copy .env.example to .env and configure:
# Database - Choose one:
DATABASE_URL=sqlite:///webhooks.db
# DATABASE_URL=postgresql://webhook_user:webhook_pass@localhost:5432/webhooks_db
# DATABASE_URL=mysql+pymysql://user:password@localhost:3306/webhooks_db

# Redis
REDIS_URL=redis://localhost:6379/0

# Application
APP_HOST=0.0.0.0
APP_PORT=5000
DEBUG=False

# Security - Generate with: python -c "import secrets; print(secrets.token_urlsafe(32))"
SECRET_KEY=change-this-secret-key-in-production

# Google OAuth (Required)
GOOGLE_CLIENT_ID=your-client-id.apps.googleusercontent.com
GOOGLE_CLIENT_SECRET=your-client-secret
REDIRECT_URI=http://localhost:5000/auth/callback

# Data Retention
WEBHOOK_RETENTION_DAYS=30
Google OAuth Setup
See GOOGLE_OAUTH_SETUP.md for step-by-step instructions.
🛠️ Usage
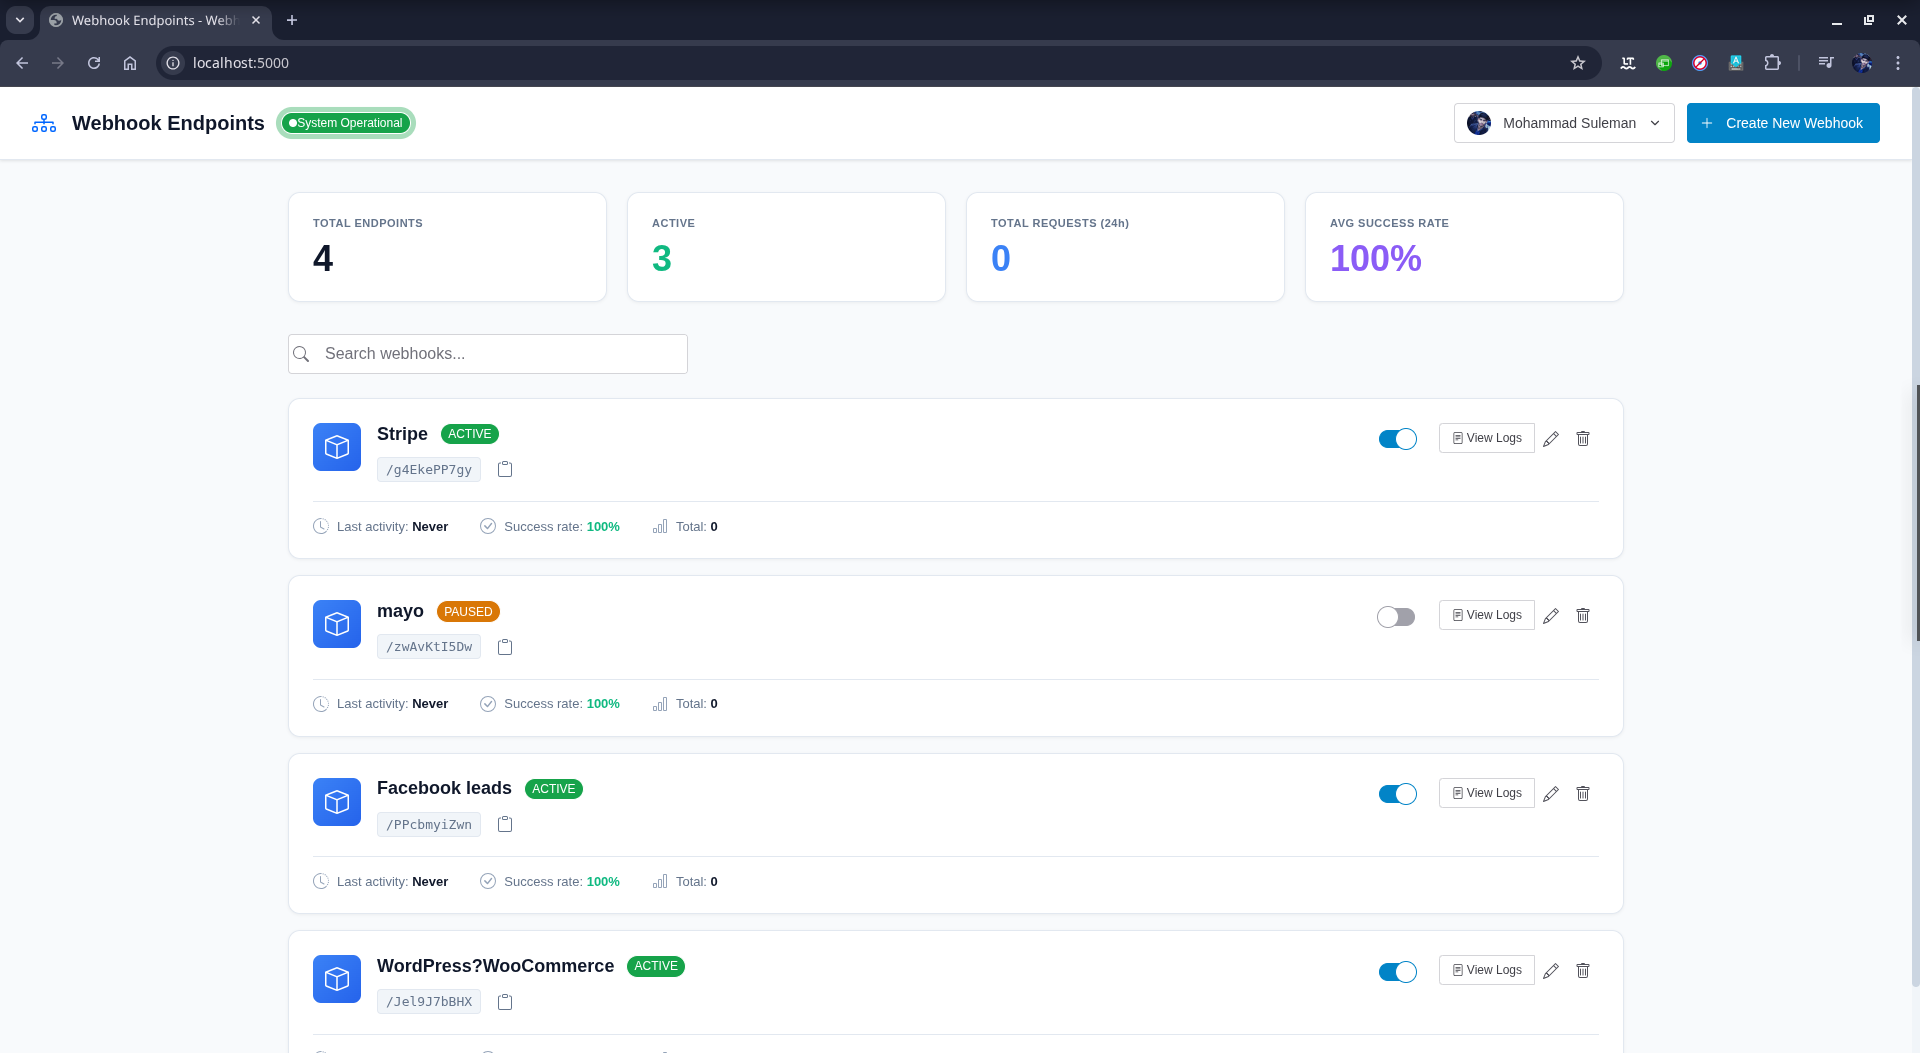
Creating a Webhook Endpoint
- Click "Create New Webhook"
- Enter a descriptive name
- Copy the generated unique URL
- Use the URL to receive webhooks from external services
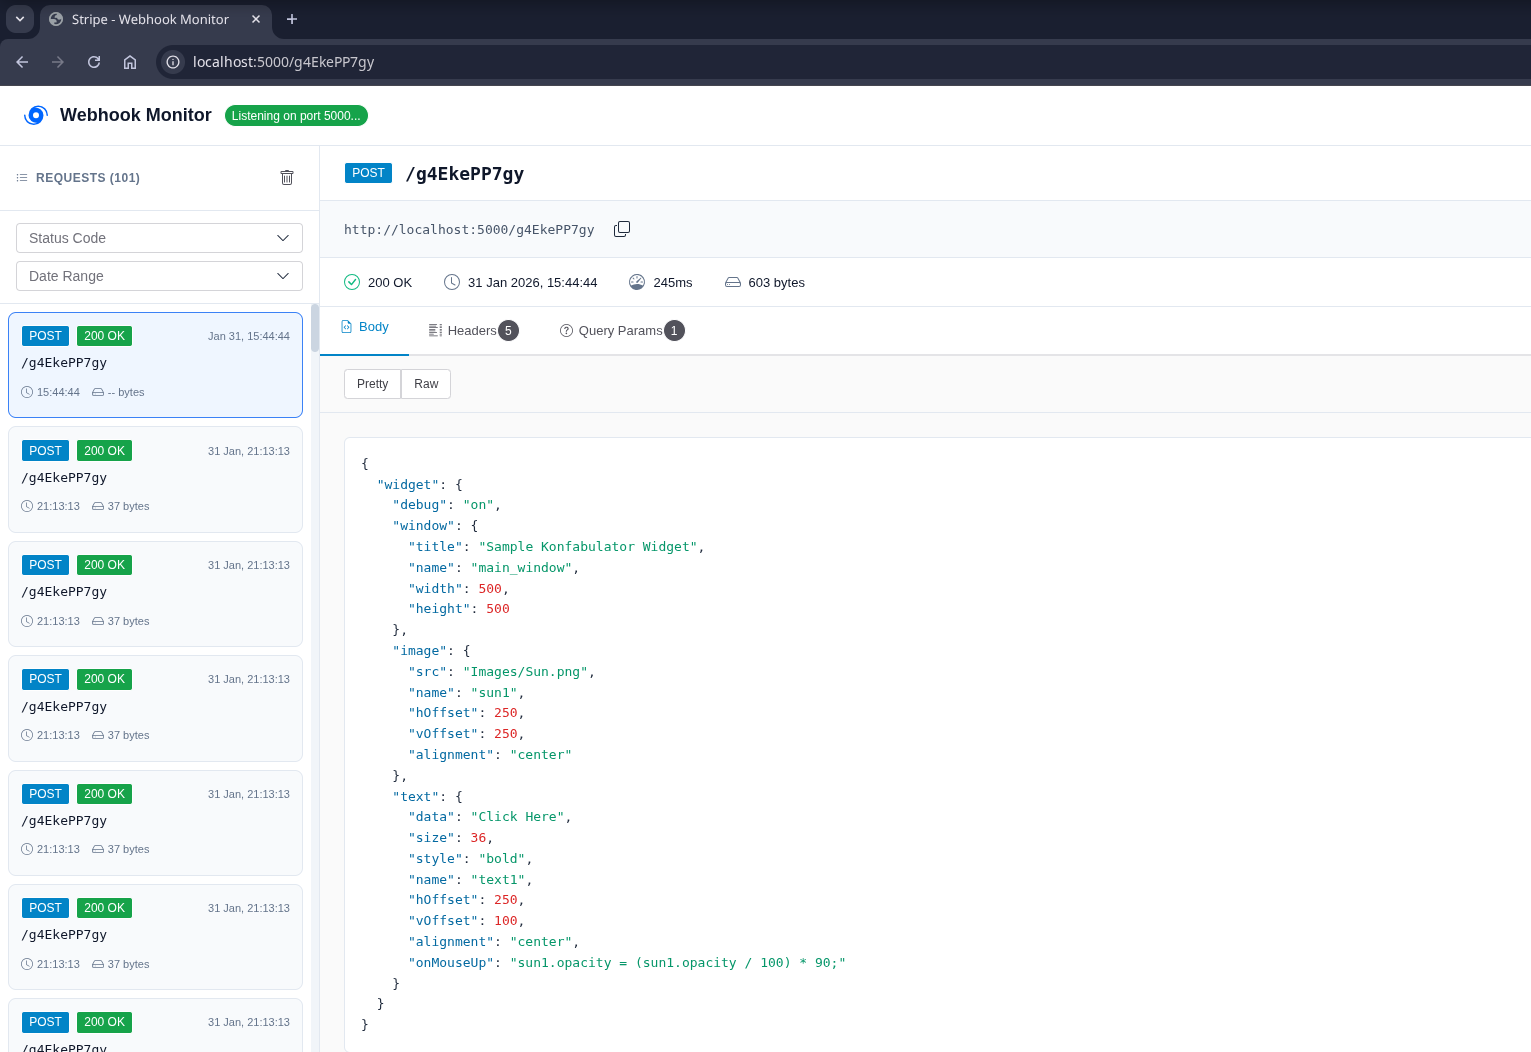
Viewing Webhook Requests
- Click on a webhook from the dashboard
- View incoming requests in real-time
- Click any request to see headers and body
- Use "Copy cURL" to replay the request
Configuring Payload Forwarding
- Click Settings (⚙️) on a webhook
- Add destination URLs (comma-separated)
- Optionally add a transformation script
- Save settings
JSON Transformation
def transform(data):
    return {
        'event_type': data.get('type'),
        'user_id': data.get('user', {}).get('id'),
        'processed': True
    }
🏗️ Architecture
┌─────────────┐
│   Browser   │
└──────┬──────┘
       │ WebSocket + HTTP
       ▼
┌─────────────┐     ┌─────────────┐
│   FastAPI   │────▶│  Database   │
│   Server    │     │ SQLite/PG/  │
│  (Port 5000)│     │   MySQL     │
└──────┬──────┘     └─────────────┘
       │ Enqueue
       ▼
┌─────────────┐     ┌─────────────┐
│    Redis    │────▶│  RQ Worker  │
│   Queue     │     │ (Background)│
└─────────────┘     └─────────────┘
📝 Docker Services
# Start all services
docker-compose up -d

# Start only Redis (for SQLite setup)
docker-compose up -d redis
Services:
- PostgreSQL: localhost:5432
- Redis: localhost:6379
- pgAdmin: http://localhost:5050 (admin@webhooks.local / admin)
🔒 Production Recommendations
- Use PostgreSQL or MySQL for production workloads
- Generate a strong SECRET_KEY
- Enable HTTPS with valid certificates
- Set up firewall rules
- Use environment variables for secrets
📄 License
MIT License - see LICENSE file for details.