This is my first in a series of technical blogs about the development of Gram Jam. In it, I will explain how I achieved a highly polished physics-based animation engine for my word game, leveraging CSS and SvelteJS.
Gram Jam started as a fun weekend project to prove a concept my brother and I had cooked up in an afternoon. It was Spring 2022 and Wordle had become immensely popular and just sold to the NYT for an eye-watering amount. I like word games, and I like web development. I was also excited to test out this new web framework Svelte that had been getting a lot of hype. The idea was simple, mash together Scrabble and Bejeweled (or Candy Crush depending on your age) into a solo word puzzle.
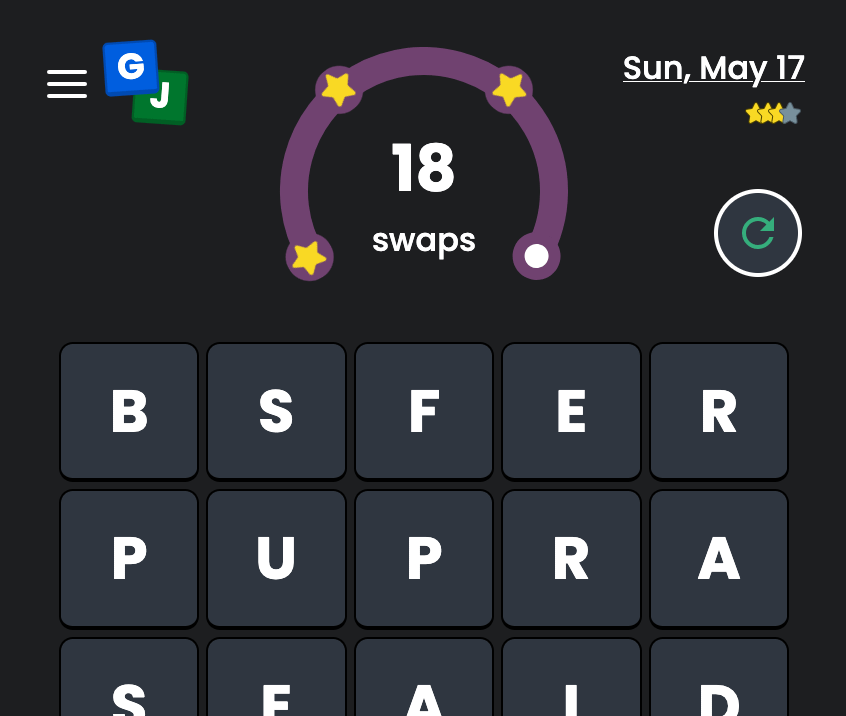
The above recording is what the game looks like today, the result of years of bending the Svelte framework and refining the UX. The early versions were not as pretty.
The first prototype came together in about 48 hours. Compare to React, Svelte had an intuitive reactivity model with great animation utilities out of the box. In the above recording, you can see the FLIP (first, last, invert, play) effect used to swap two tiles on the board. This is as simple as:
Okay not quite that simple. There’s a lot of positioning and styling that I’m glossing over. But Svelte’s directives made React look like a clunker in comparison. I’d used a number of React libraries in the past to achieve FLIP animations and they all seemed to have their caveats. This was baked right into the framework!
You’ll also notice in that recording that the tiles have a subtle pop-in transition when they spawn on the board. This is achieved via Svelte’s in/out directives:
When Svelte runs one of these, it generates a keyframe animation in CSS by interpolating the css function at regular time intervals. Svelte has a handful of common transitions that are great starting points, but you can go wild with arbitrary easing functions and CSS attributes. One advantage of using CSS for this instead of JS: modern browsers can hardware accelerate these animations, running them outside of the main execution thread so they don’t compete with the game logic for CPU cycles. You can read more about Svelte transitions here.
It would be nice if instead of the new tiles popping in at the final x/y position, they instead fell down as if the board had an endless feed of new tiles off screen.
We can use the in:fly transition to give the dropping in effect. This looks a lot better. (You may notice the newly entering tiles don’t quite have same “weight” than ones already on the board. I was able to fix this later on with a much more bespoke transition. I’ll explain the final effect later down). The other thing you may have noticed in this recording is the word now smoothly animates from its position on the board to the shelf above it.
This is a crossfade, the third type of svelte animation directive that I leveraged. While FLIP is used for moving an element within its container, and in/out transitions are for entering and exiting, crossfade is for when you want to move an element from one container to another. As the name implies, the effect creates two animations, one playing from the starting position and one playing in reverse from the ending position, and fades between them. Here’s what it looks like in code:
The “key” here is that the two elements on the page share a send/receive pair, and are linked via the tile.id. Then in the game logic when a word is detected, the board clears the word and the shelf updates in the same “tick”. Svelte detects these two changes and reconciles them to determine the starting and ending positions of the tiles. I’m skimming over the game logic that triggers these updates, that is a subject for another article.
One final effect that I wanted to achieve was having all the tiles flip over in a reveal at the start of the game.
This was actually not too difficult. I made a wrapper Svelte component, hoist the flip-over animation (not the FLIP, this will get confusing) onto a parent div above the FLIP, fly, and crossfade directives.
This is the full, un-simplified source for my Flipper component. The [i, j] coordinates on the board are used to compute the stagger to achieve the “sweep” effect from the top left to the bottom right. The flipOver|global modifier tells Svelte to play the animation if any ancestor of Flipper triggers a re-render, rather than just its immediate parent. When a game ends and the old tiles flip out to reveal the new ones, the out:flipOver plays immediately, and the in:flipOver is staggered the duration of outro the animation so the exiting tile leaves before the entering tile appears.
I’ll quickly point out the flipOverAnimation.queue(duration + totalDelay). This is not a Svelte concept, but a utility I built to help with orchestrating all the animations in concert with one another. I’ll go into more detail further down.
This is the foundation of all the animation in Gram Jam, explained delightfully with an interactive tutorial by the official Svelte docs. In fact, the Svelte docs often provided inspiration for certain effects that I may not have otherwise considered. At this point my attention turned to other aspects of development: tuning the letter distribution algorithm, optimizing the game layout for mobile, and coming up with entirely new game modes! I wouldn’t return to the animations in a big way for at least a year.
(But in the back of my mind, I knew I could go further).
After releasing the Daily mode — a variation of the game that played on a shrinking board and emphasized competition with friends and sharing scores — I took some time to return to the animation engine. There were a few things that really bothered me about the animations as they were.
During the crossfade, the tiles would become slightly transparent. You might also notice a bit of a “double vision” effect, since there are actually two sets of tiles animating on top of one another. This is probably not noticeable to most players, and I certainly wouldn’t get permission to spend 3 story points on this bug if I was at my day job, but I was striving for perfection. The linked Github Issue is still open today, so I wasn’t gonna wait around for a fix. The nice thing about Svelte is that everything is so modular I could just copy and edit the crossfade function and use my custom version.
This was definitely one of the trickier bits of code in my project, but I’d become pretty comfortable with Svelte animations by this point, so I rolled up my sleeves. Here’s the implementation of crossfade from the Svelte source code:
There are two interesting pieces here, first the nested crossfade function, that computes the starting and ending bounding boxes and then tweens between them. There’s a bit of math, but nothing crazy. Then there’s the transition which updates the to_send and to_receive maps which are created inside a closure and shared by any elements that utilize the const [send, receive] = … directives. Basically the items and counterparts match up the entering and exiting node pairs in a bi-directional map, and then compute the crossfade animations for each pair. The transition function was taken verbatim for my implementation.
Since the starting and ending tiles are identical except for some scaling, I didn’t actually need both sets of tiles to animate. I could instead animate the “sending” tile using the same crossfade math and leave the receiving tile in place (For some applications of crossfade, this assumption may not hold). The sending tile remains at 100% opacity for the entire duration of the animation, until the very end when it fades to 0%. Likewise, the receiving tile stays at 0% until the sending tile is settled.
But now that I was mucking around in here, I could change all sorts of aspects of the animation! What if I wanted to have the word “hover” above the board for a split second before clearing? I started making some utility functions to help with this.
LERP is short for linear interpolation. Here’s an excellent video on it if you have an hour. My lerp function here is a HOF (higher order function) that takes another function of time, and tweens that between a starting and ending position d1 and d2.
constant is just a HOF that takes a duration and a constant, and returns a constant function.
linear is a HOF for y = mx + b from your high school algebra class.
Hopefully you’ll soon see why we’re making these HOF wrappers. The tickToValue follows the same signature as Svelte’s transition functions, mapping a [0, 1] number to a CSS value (position, opacity, scale, etc).
A quick aside on easing: if you’ve made it this far, you’re probably already be familiar with the concept of easing in CSS. MDN defines it as “a mathematical function that describes the rate at which a value changes.” The provided CSS easing options are all parametric, meaning they can be expressed by a closed form solution e.g. y = sin(x) and finding the value y for any input value x requires no knowledge of any preceding output values.
There are a bunch of easing functions in the official CSS spec, re-implemented by Svelte in svelte/easing. But for Gram Jam, none of these created the effect I was looking for. A word moving a long distance across the board should feel different than one just moving a small amount. The default crossfade sort of addresses this by taking the (scaled) square root of the travel distance as the animation duration, so that a word moving further takes longer to arrive.
But we can still do better. Spring-based animations use non-parametric equations to calculate the easing function based on real-world spring physics. The differential equation modeling springs uses 3 parameters: stiffness, damping, and mass. Here’s an in-depth article on the math. The important takeaway is that the duration of the animation is not a simple calculation from the input parameters.
The computation of a spring easing function is done iteratively in a loop, recomputing the velocity and acceleration of the object each tick based on the previous values. This is a differential equation, where the output values feed back into the inputs (I’m vastly over simplifying and it’s been a decade since I took diff-eq, so bear with me). Effectively, we run a simulation of the spring until it has settled (the delta between current and previous tick falls below a threshold) to calculate the frames of the animation and determine it’s duration. At each step, the position is a function of the velocity and acceleration, and the acceleration is also a function of velocity.
To make this fit into the framework we’ve built so far, when creating a new spring animation we need to pre-compute all the tick values and the total duration.
springToTickValue samples the array of spring values for each frame, accounting for some jaggedness that comes from different frame timing between the simulation and the render loop, so that the Svelte can create a keyframe from the spring.
springToTransition is an HOF that precomputes the spring frames based on a starting and ending position, returning a Transition like our other functions.
springIn and springOut are just wrappers that allow us to play the animation in forward or backward directions.
One last “piece” before we can bring it all together.
Piecewise is a bit complicated, but it basically allows composing multiple functions (the “pieces”) tip-to-tail into a single function. This allows me to create a single complex CSS animation that is a sequence of simpler ones. Each shorter sequence assumes a domain of [0, 1] so they need to be scaled by dt, the portion of the overall animation that they contribute to. You can see inside the tick() function that we can now invoke the .tickToValue() of the piece for this segment of the animation. The norm parameter allows us to linearly scale the function outputs, which will be used for the css scale effect to map the function’s range to our desired range in pixel space. Bounds allows us to change the domain of the function.
Now I can finally show you the full crossfade function. But first let me show you again what it looks like on the page (super slowed down so you can appreciate each stage (another fun side effect of all the custom animations is that I can easily control the speed, and actually made it into a user-configurable option)).
The animation is broken down into 3 parts:
spring up, the word is growing off the page
spring down, the word is flying to the bottom
fade, the only actual crossfade part, where the sending tiles fade away, leaving behind only the receiving tiles.
And now the code:
Phew! So the first few lines are (mostly) the same as before, getting the start and end coordinates of the two elements. Then we create the springUp and springDown effects. Spring down is still using the Euclidean distance between the starting and ending points (sqrt(dx^2 + dy^2)), so the word traveling further will feel different than a word traveling a shorter distance.
Then we have opacityIn which is the opacity of the receiving element at the final resting place. It stays transparent for the full duration of the spring up + spring down + any initial delay for the animation.
opacityOut is for the sending element, it stays fully opaque until the very ending fade part of the piecewise.
position holds for the delay and spring up, then springs down, then holds again.
scale also holds for the delay, then springs up, then springs down, then holds.
fontSize holds, then springs down, then holds.
And that’s it! Each one has to be translated into the actual CSS attribute, which is handled in the final return statement. And I ensured that all tiles shared a transform-origin while scaling, so that the tiles maintain their relative spacing between one another. Otherwise they would overlap one another. And now I can explain the animation.queue() call.
The Animation class is a simple utility that takes a duration (how long the animation takes to settle) and returns a promise. Then in my game logic I can make sure to pause the execution of code until the corresponding animation has completed, without this, one animation could start playing before the previous one had finished, making a mess. Here’s the class:
When multiple animations are triggered at once, it’ll make sure all of them have settled before resolving the promise. Since each tile crossfade is staggered by its position in the word, we need to wait until the last tile has settled. The buffer is just a bit of extra padding (five 16ms frames at 60fps). So in my game logic, I can write:
I was going to elaborate on how I also used spring physics for the in/out transitions and the crossfade, but I think this article is already too long. Suffice to say, I followed basically the same strategy of overriding the built in Svelte utilities. The latter two transitions are much simpler because they aren’t piecewise, just a single spring.
This is my first technical article, and I’m inspired me to write more. I want to explain how I used probability and statistical smoothing to implement the letter sampling algorithm, how the dictionary data structure allows for efficient board scans after each turn, how I design the Daily puzzle boards, and my forays into web workers and service workers to implement PWAs and background tasks. I think I could go into a similar amount of detail about all these subjects.
Please leave a comment to let me know your thoughts! Oh, and please play Gram Jam and share it with your friends!
P.S. I’m looking for work if you would like to hire a Senior Full Stack Engineer with attention to detail and passion for user experience.