After setting up my first home server using an old gaming PC earlier this year, I eventually realized that this machine wasn’t ideal for my needs. Its mid-tower case occupied too much space and only had room for two 3.5-inch hard drives. I wanted a more compact setup that would allow me to add more storage in the future.
In my last post, I identified the case I chose for my new NAS build. I’ve since finished the build and the result is an 8-bay NAS with 16 GB of ECC memory that idles at 30–35 W for about $1,100 in new parts, including drives. Here’s how I put it together and some of the surprises I encountered along the way.
Contents#
- Parts Selection
- Why Not Buy a Prebuilt NAS?
- Building my NAS
- What I’m Running on My NAS
- Noise and Thermals
- Power Consumption
- Final Thoughts
Parts Selection#
| Component | Product | Price |
|---|---|---|
| RAM | 2x Kingston KSM26ES8/8HD (8 GB each) | $208.98 |
| Motherboard | ASRock B550M Pro4 | $87.99 |
| CPU | Ryzen 5 PRO 5650GE | $137.50 |
| CPU Cooler | Noctua NH-L9a-AM4 | $49.95 |
| Case | Sagittarius 8 Bay NAS Case | $210.37 |
| Storage (HDD) | 2x Western Digital Red Plus 8 TB 3.5″ | $343.98 |
| Case Fan | 2x Arctic P12 PWM PST | $21.76 |
| Drive Adapters | 2x ORICO 2.5″ to 3.5″ SSD Adapter | $15.97 |
| SATA Adapters | Right-angle SATA adapters | $13.98 |
| Case Fan | Noctua AF 120mm | — |
| PSU | SeaSonic PRIME Gold 650 W 80+ Gold | — |
| Storage (SSD) | Samsung 850 Evo 500 GB 2.5″ | — |
| Storage (NVMe) | Western Digital Blue SN550 500 GB M.2-2280 | — |
| Operating System | TrueNAS Community Edition | Free |
The prices listed here include shipping fees and taxes. In total, I paid $1,090.48, of which $746.50 was for components apart from the hard drives.
I purchased the hard drives in December 2025 and other new components around April 2026. A few components, including the PSU and both SSDs, were reused from my previous build.
A few notes on my choices:
- Motherboard: I wanted ECC support and at least two PCIe slots so I could add an HBA and 10GbE networking in the future. I also chose a DDR4-based motherboard since DDR5 memory is significantly more expensive in today’s market. I would have also preferred a motherboard with 8 SATA ports but the options I considered were all too expensive to justify.
- RAM: I started with 16 GB of ECC memory to have some headroom over TrueNAS’s minimum recommendation of 8 GB.
- CPU: The Ryzen 5 PRO 5650GE supports ECC memory and has integrated graphics, so a dedicated GPU isn’t necessary.
- Case: I chose the Sagittarius as it offers eight drive bays and ATX PSU support all in a compact 20-liter footprint. I wrote more about the case in my review here.
- CPU Cooler: The case allows only 55 mm of clearance with an ATX PSU, so I needed the low-profile Noctua NH-L9a-AM4.
- Operating System: I’ve stayed with TrueNAS Community Edition since it has been reliable and doesn’t require a paid license.
- Hard Drives: In my storage layout two hard drives are mirrored, so only 8 TB are usable across these two.
- NVMe drive: This is used as the boot drive.
- SSD: One app I’m self-hosting (Immich) has its Postgres DB stored on this drive to access data more quickly.
Watch Out for Vendor-Locked Ryzen PRO CPUs#
Some Ryzen PRO CPUs are locked to certain motherboards. CPUs pulled from Lenovo systems are one such example. This locking is done using what’s known as Platform Secure Boot (PSB), which blows a hardware fuse in the CPU to activate the lock. If, for instance, you try to run a locked Lenovo CPU on a motherboard by a different PC maker, it just won’t boot.
When researching this, I found this blog post by ServeTheHome which noted that a chip pulled from an HP EliteDesk 805 G6 Mini wasn’t locked. This gave me the confidence to purchase a chip on eBay, which the seller claimed was pulled from an HP system. Fortunately, it worked on my ASRock motherboard.

Why Not Buy a Prebuilt NAS?#
Before setting off to build my own NAS, I did consider just buying one off-the-shelf from either UGREEN or Synology. For example, UGREEN offers this 8-bay NAS which currently retails for $1,369.99. It comes with 2 10GbE ports, but it lacks ECC RAM. Synology offers this 8-bay NAS for $1,549.99, which is more expensive than my build and only has half as much ECC RAM.
For my build to more closely match the feature set of these two options, I’d need to purchase a few more components:
- A Molex splitter to power two additional drive bays (Currently $6.99). At the moment, my PSU is only powering 6 of the 8 drive bays.
- An HBA card to connect two more drives to the motherboard (Currently $71.88).
- A 10GbE network card (Typically under $80).
This would add roughly $160 to the total build cost, before considering any taxes or shipping fees, which would be about $906, excluding hard drives.
Of course, buying a prebuilt NAS does have its advantages. You’ll get a single warranty for the entire unit instead of separate warranties for each individual component. In addition, a prebuilt NAS would be fully functioning out of the box with a user-friendly OS that most people would likely find more intuitive than TrueNAS. You’d also likely get access to customer support if you ever run into technical issues.
Despite these conveniences, the cost of buying one and my comfort with building computers were the driving factors in my decision to not buy a prebuilt NAS.
First, I have to admit that the case was difficult to build in given how compact it is. Also, many of the screws included with the case were mixed together in one plastic bag. I spent the first several minutes sorting them.
I first started installing the cables for the drive bays and the fans behind them. This involved connecting the SATA cables and some Molex connectors. The cable provided with my PSU only supports up to 3 Molex ports, so that means I’ll only be able to power 6 of the drive bays, which is fine for now.

From there, I switched over to the motherboard chamber. I found it tricky to slowly place the motherboard on the screw mounts since they’re not easy to see from above.

In such a tight space, I found it difficult to connect the SATA cables to the motherboard. I wish I had done this before putting in the motherboard.
It was also here that I discovered there wouldn’t be enough room to place two fans in the motherboard chamber because of the SATA ports, which was an unpleasant surprise. However, this hasn’t been a huge issue since I’ve found that one intake fan provides enough cooling for the CPU and motherboard. I’ve since noticed that Wolfgang was able to fit a second fan by pushing the SATA cables a bit further down.
Shortly thereafter, I realized I forgot to put in the I/O shield, so I had to redo this part before mounting the PSU.

One concern I had was that the cables were having to bend almost 90 degrees to fit. I purchased SATA adapters to prevent this.

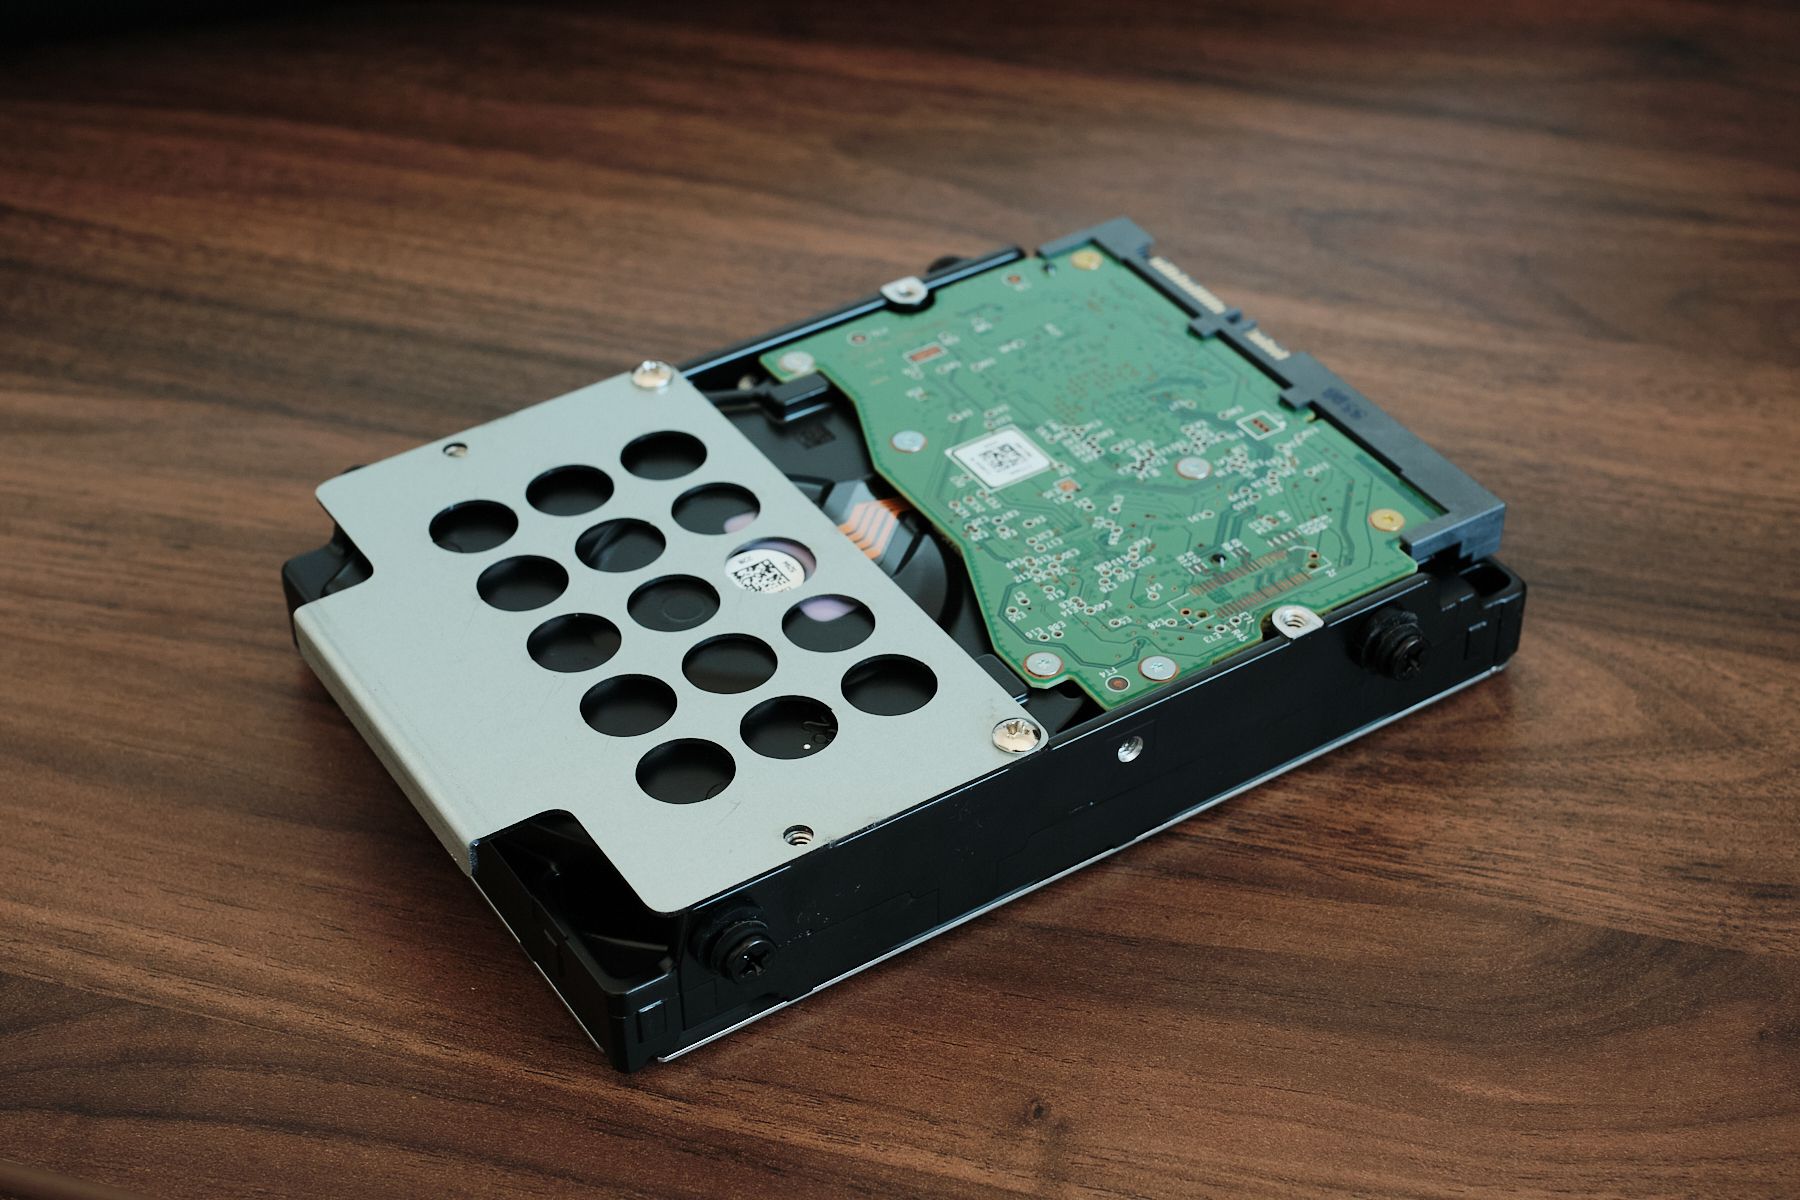
Once all that was done, the next step was adding the storage drives. The Sagittarius case came with screws, rubber grommets, and mounting tabs to install on each hard drive. I assume these grommets are meant to dampen vibrations from the drives themselves. All in all, these were fairly easy to install.
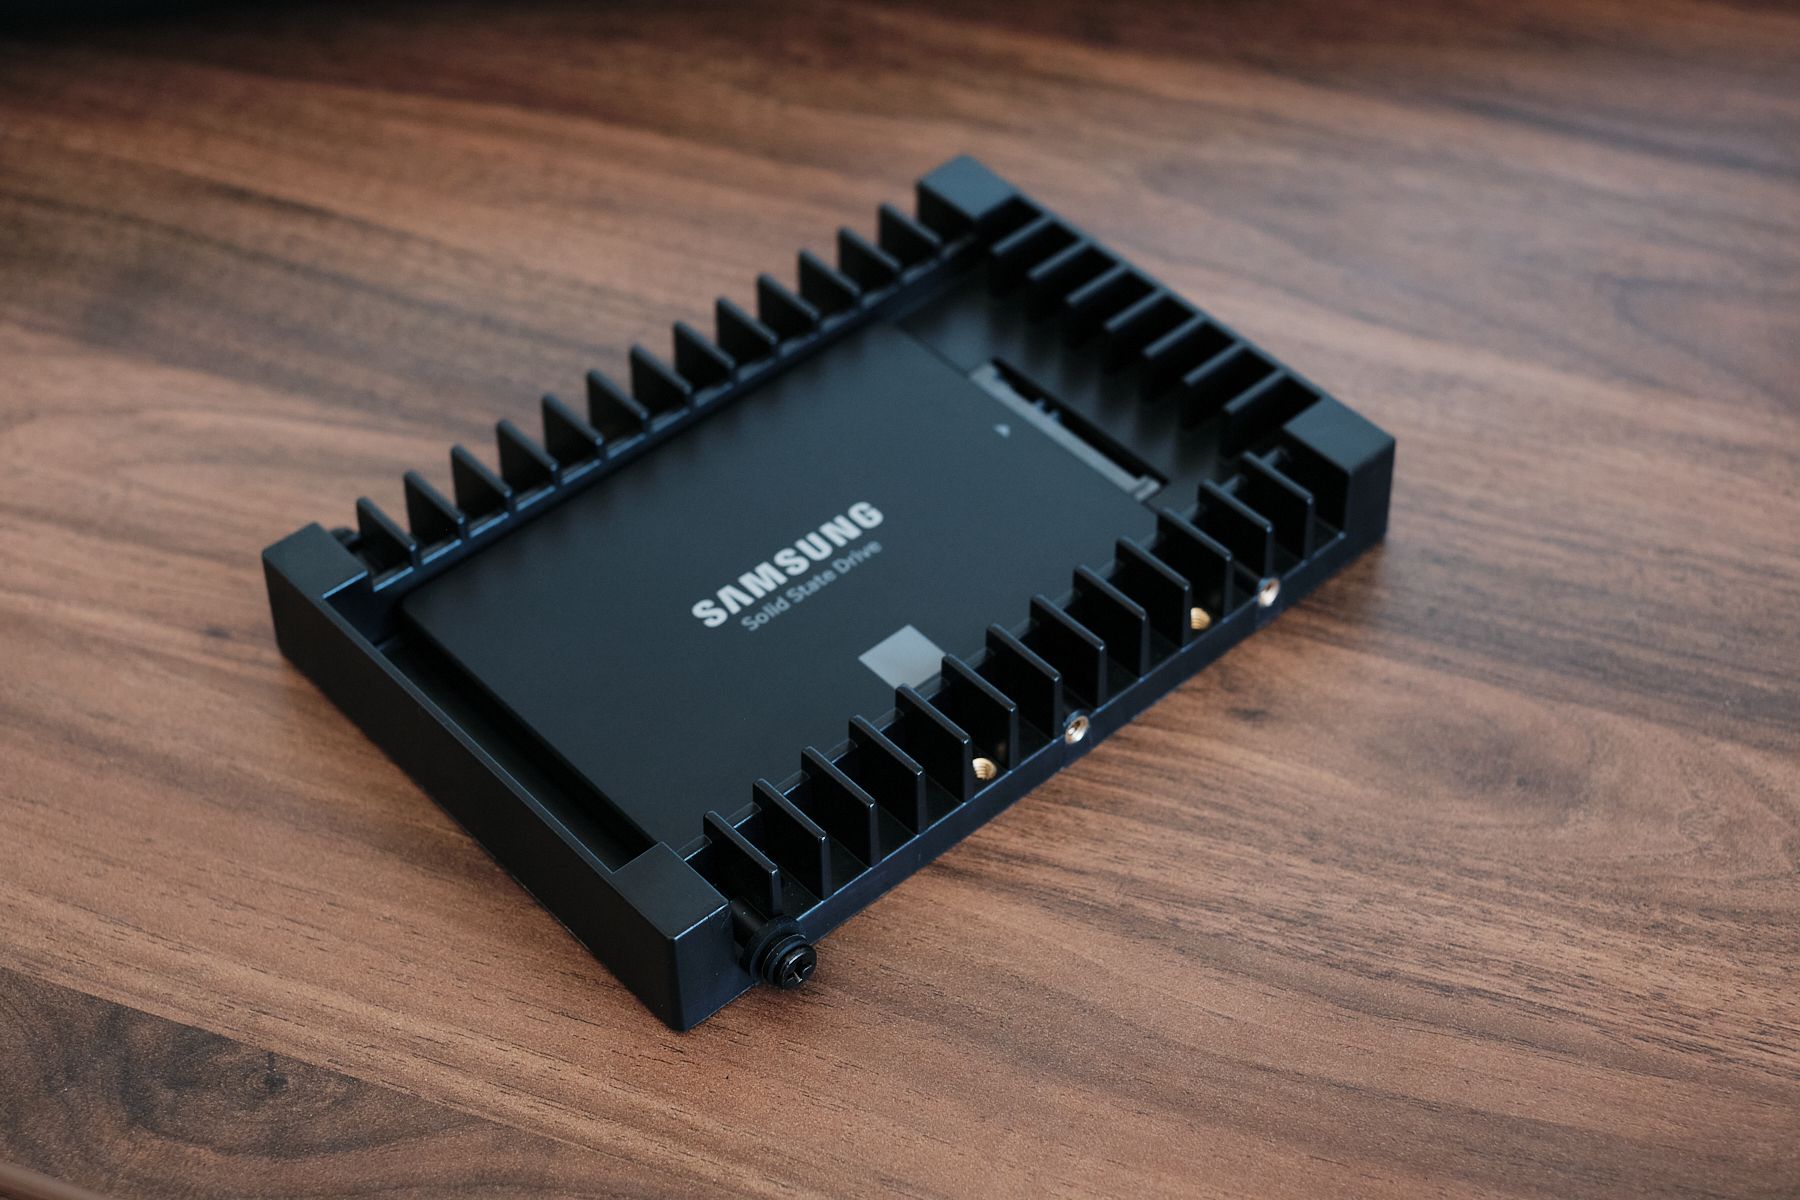
I also wanted to mount a 2.5″ SSD, so I purchased a 2.5″ to 3.5″ drive adapter from ORICO to fit it in a 3.5″ bay. It didn’t make much sense to install the mounting tabs on the adapter, so I skipped that step.
With the drives all prepped, I slid them into their respective bays behind the removable front panel. I also left some space between the drives to maximize the airflow around them.

What I’m Running on My NAS#
My previous home server hosted several self-hosted apps running within TrueNAS. I’ve scaled down on this and am now using this new machine primarily as a dedicated NAS.
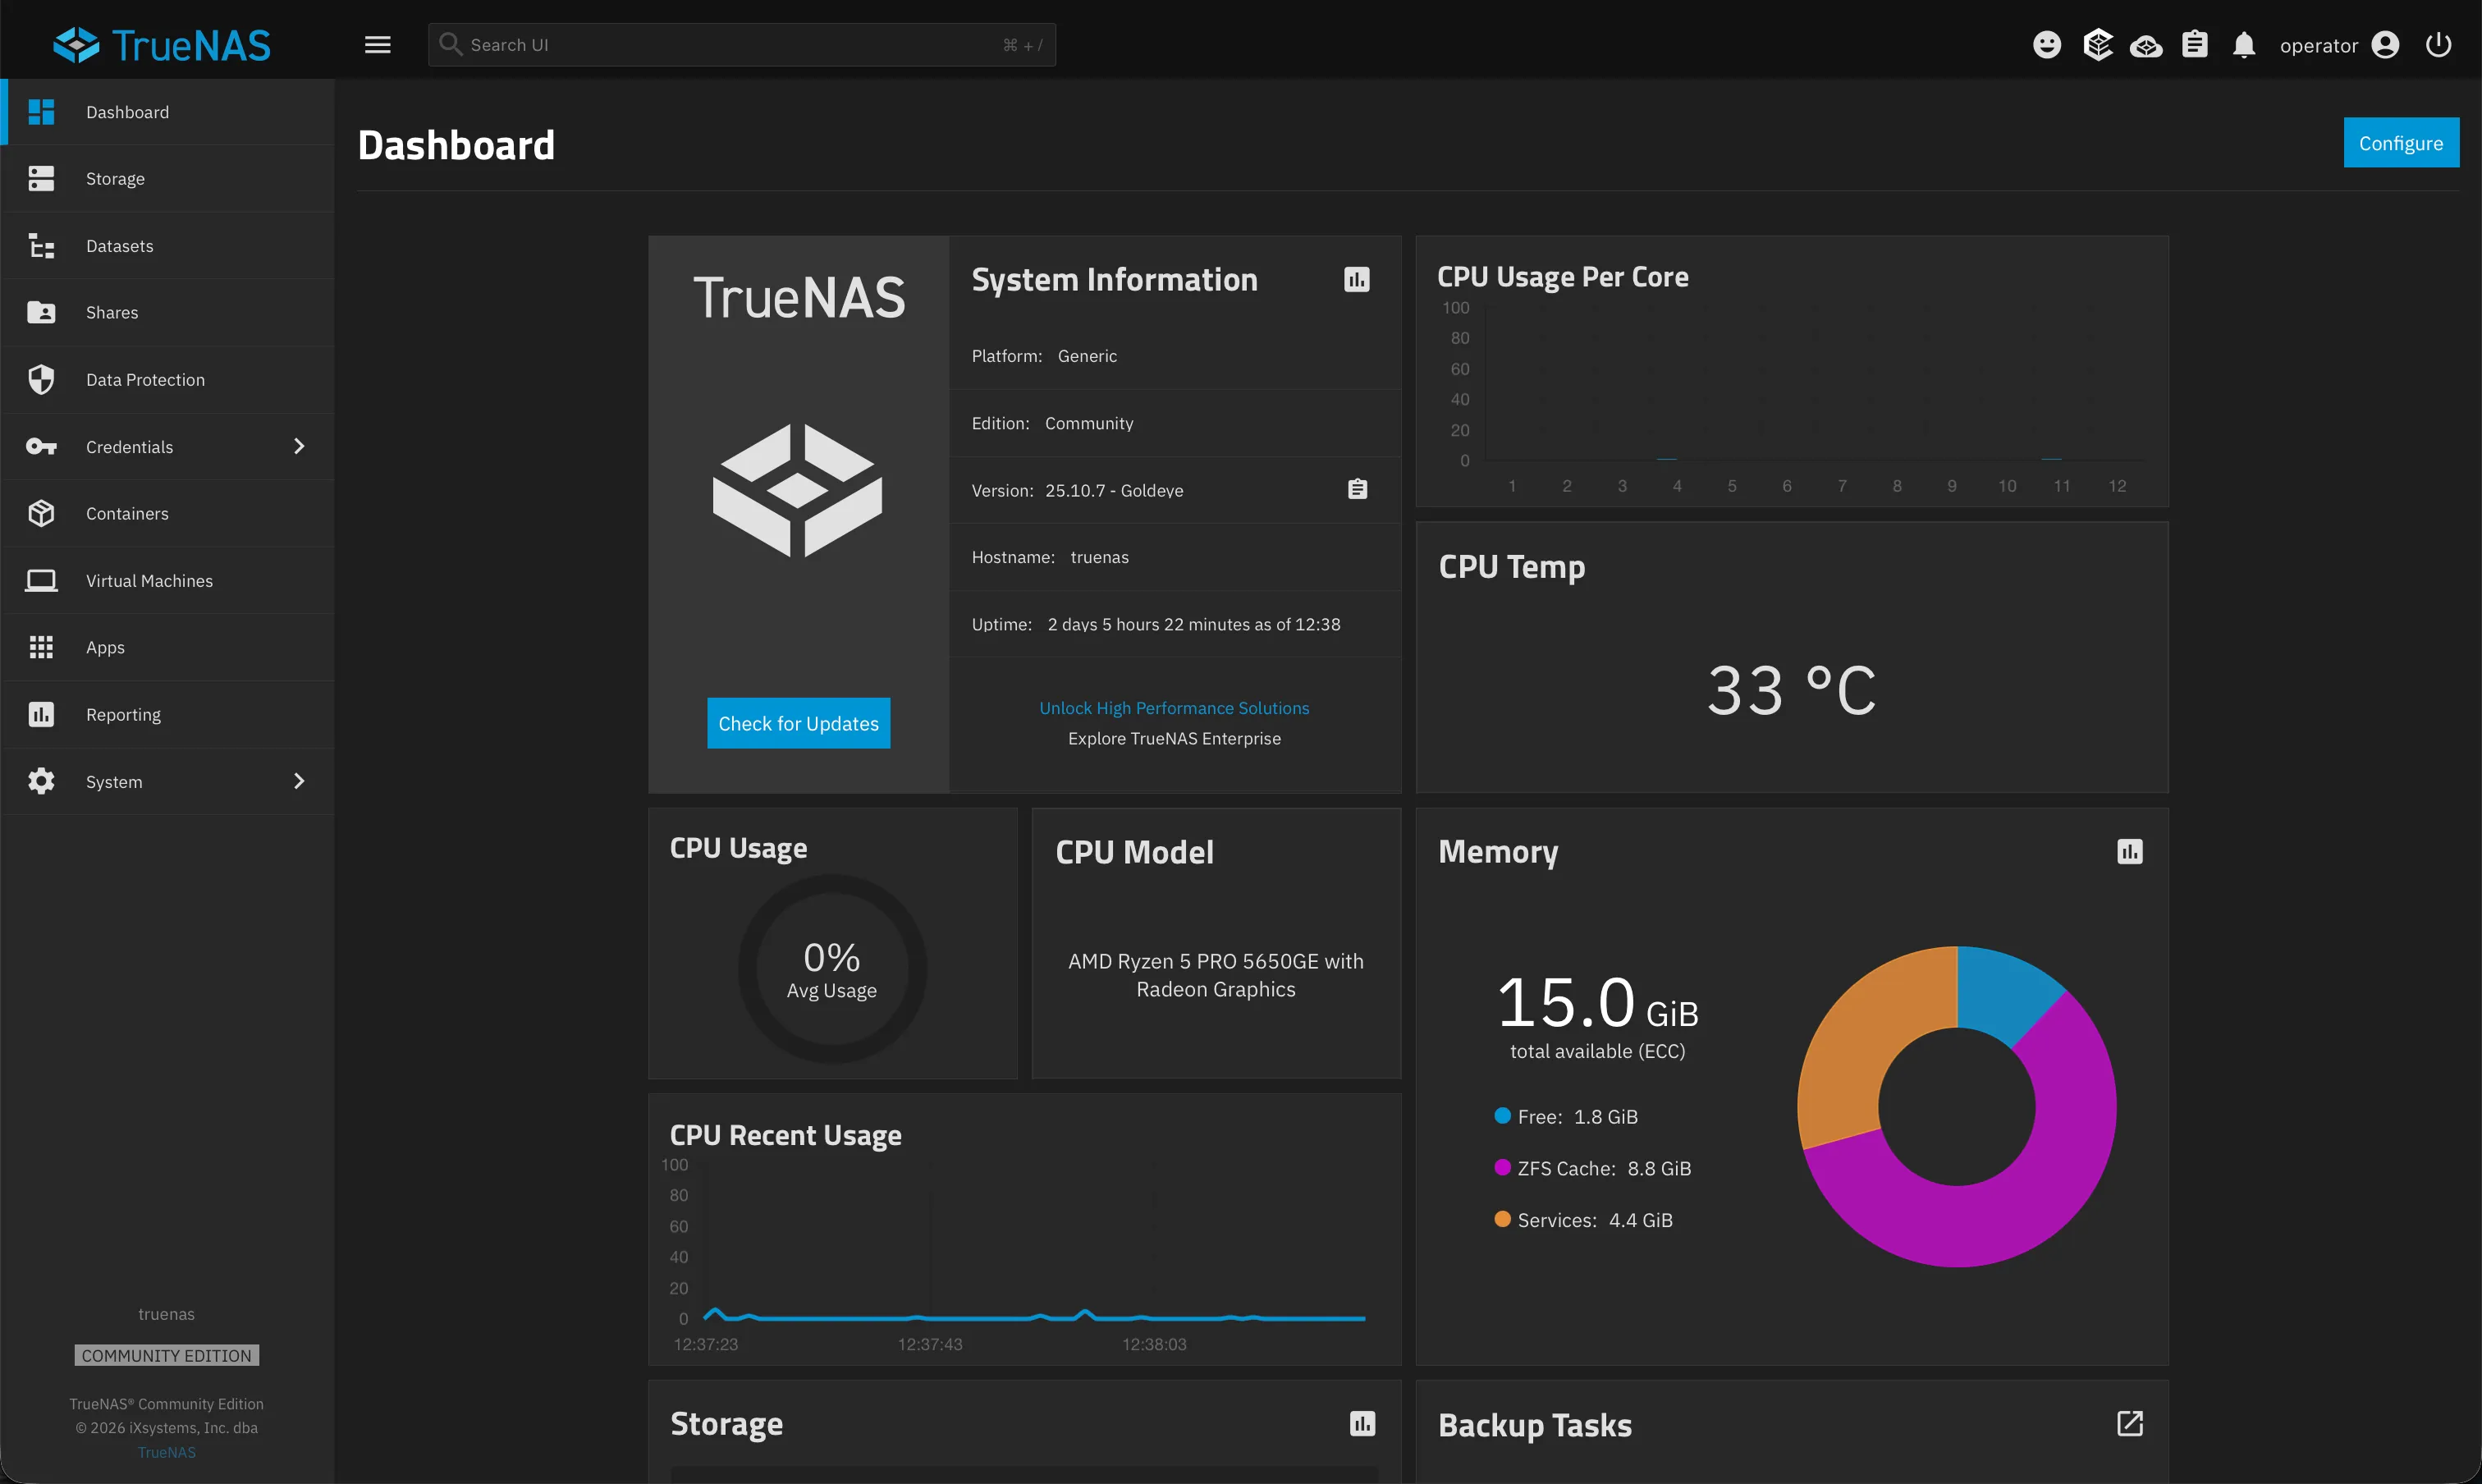
Right now, I only run these apps on it:
- Backrest: Backs up my data to a Backblaze B2 bucket every day that the NAS is turned on.
- Scrutiny: Monitors the health of my hard disks.
- Immich: Backs up photos from my iPhone.
I’ve since started hosting my other apps, such as Readeck and Mealie, on an M1 Mac mini. I mainly did this to cut my power consumption as I don’t always have my NAS turned on, whereas the Mac mini runs 24/7, idling at about 5 W (more on that below).
Noise and Thermals#
Thermals have been pretty good. I’ve found that the CPU temperature ranges from 32–40°C, averaging 34°C. The hard drive temperatures are between 25–34°C, averaging 31°C.
As for noise, I mainly hear the sound of airflow, and the occasional clicking sound from the hard drives. The NAS sits in my home office and I haven’t found the noise to be very distracting while working.
Power Consumption#
I bought a smart plug (Tapo P125M) to check the power consumption. Using this, I found that my previous home server was idling at 55–60 W, of which 15 W was due to my Nvidia GPU. My new build idles at 30–35 W. This is after enabling Global C-States in BIOS to allow the CPU to access lower power states.
One thing to note is that my PSU isn’t efficient for such low power loads. I went down a rabbit hole on this only to learn that it’s not worth purchasing a new PSU for this reason alone.
I also explored the possibility of having the hard drives spin down to save power only to find that it wasn’t worth going down this path. This is because TrueNAS does SMART checks on the drives, which will regularly wake them up, defeating the purpose of spinning them down. The official documentation states that these checks occur every 90 minutes. As far as I can tell, TrueNAS doesn’t allow you to configure when these SMART checks occur.
Final Thoughts#
This build, which I originally finished in April, wasn’t the most straightforward. One thing I’ve learned is that a single intake fan in the motherboard chamber is indeed enough for my NAS. If you’re building a gaming PC in this case or a compute-heavy home server you’d probably want to find a way to install a second fan. Adding an 8-port HBA card should help here by allowing you to connect eight drives to the card, freeing up the SATA ports on the motherboard to make room for the second fan.
I also would have preferred getting a motherboard with 8 SATA ports and ECC support, if they were cheaper in today’s market, to more easily support all 8 drive bays in the case without needing another peripheral component.
Even so, the end result has been well worth the effort for my needs compared to buying a prebuilt unit. Fortunately, I haven’t stumbled upon any deal-breaking technical issues with this, which I’m grateful for.